Installing CollabNet Subversion Server 1.6.3 and TortoiseSVN 1.6.3 on Windows Server 2003
For a business to implement version control, they typically want some kind of support, preferrably that they need to pay for, and that may or may not be used, and that may or may not be helpful.
Luckily, CollabNet offers certified binaries of Subversion, available for the low price of the time needed to register. Additionally, they offer support, training, installation, and hosted solutions, in addition to the large Subversion community. Compared to the other solutions out there, including Microsoft's, there's really no question on what your first choice should be.
In this article I'll be going over the base installation of CollabNet Subversion Server 1.6.3 and TortoiseSVN 1.6.3.16613, on Windows Server 2003 R2 Enterprise Edition, Service Pack 2, running on Sun VirtualBox. Screenshots are available by clicking on the appropriate links. (Due to the size, they are not included here, but I might do some jQuery to have them display nicely, at some point.)
Downloading installers
The first step is to download the installers for CollabNet Subversion Server and TortoiseSVN. At this time, the current versions of each are 1.6.3.
Installing CollabNet Subversion Server
CollabNet Subversion Server relies upon Apache to serve repositories, due to the various benefits (security and etcetera) that it provides. However, for this installation I'll assume that you want to keep IIS running and available.
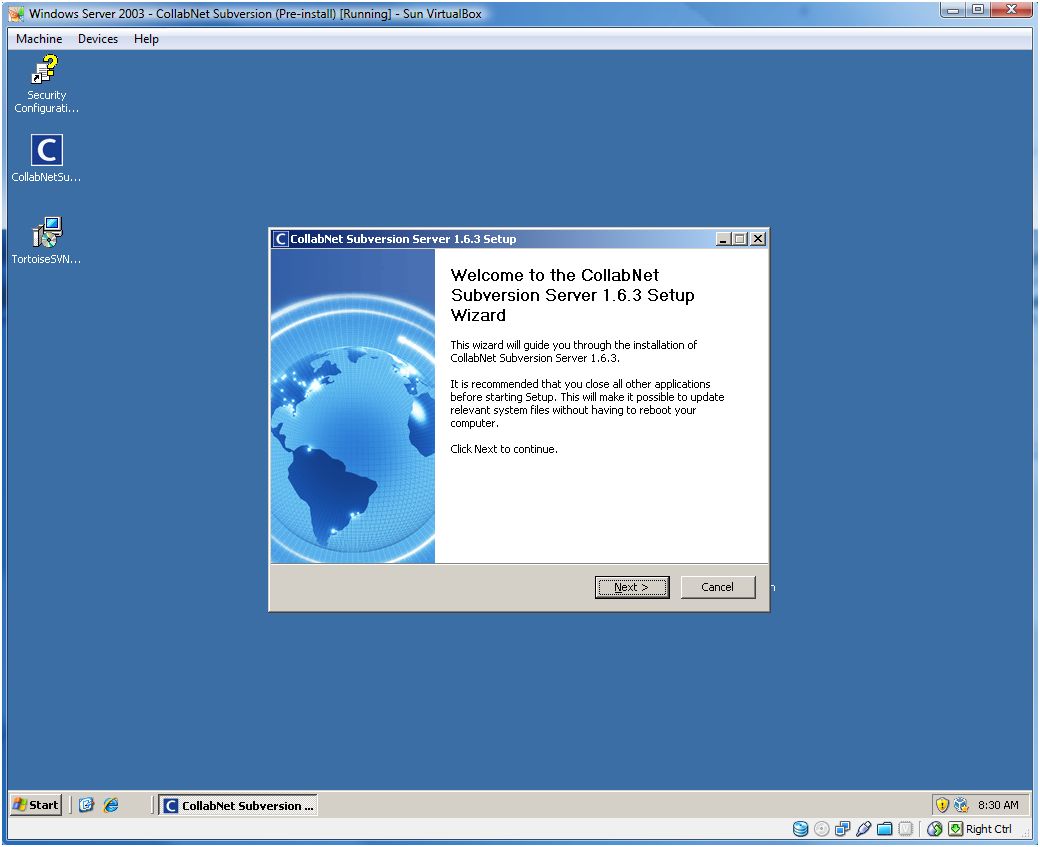
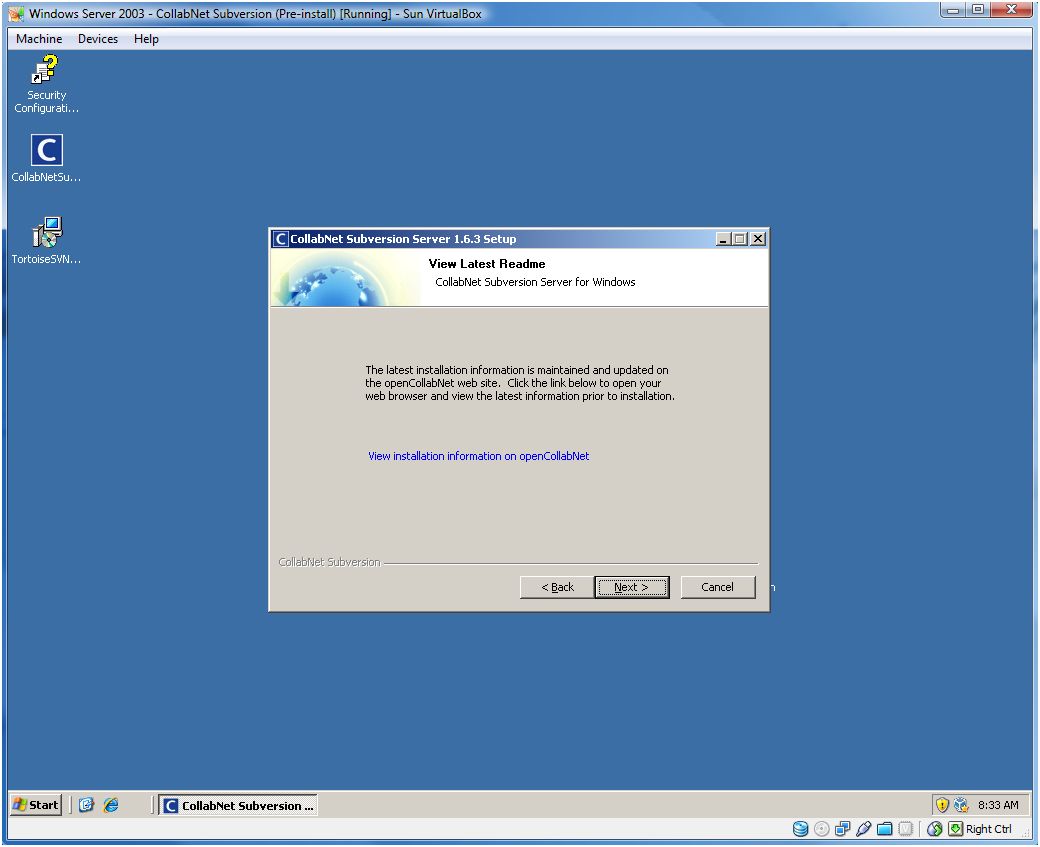
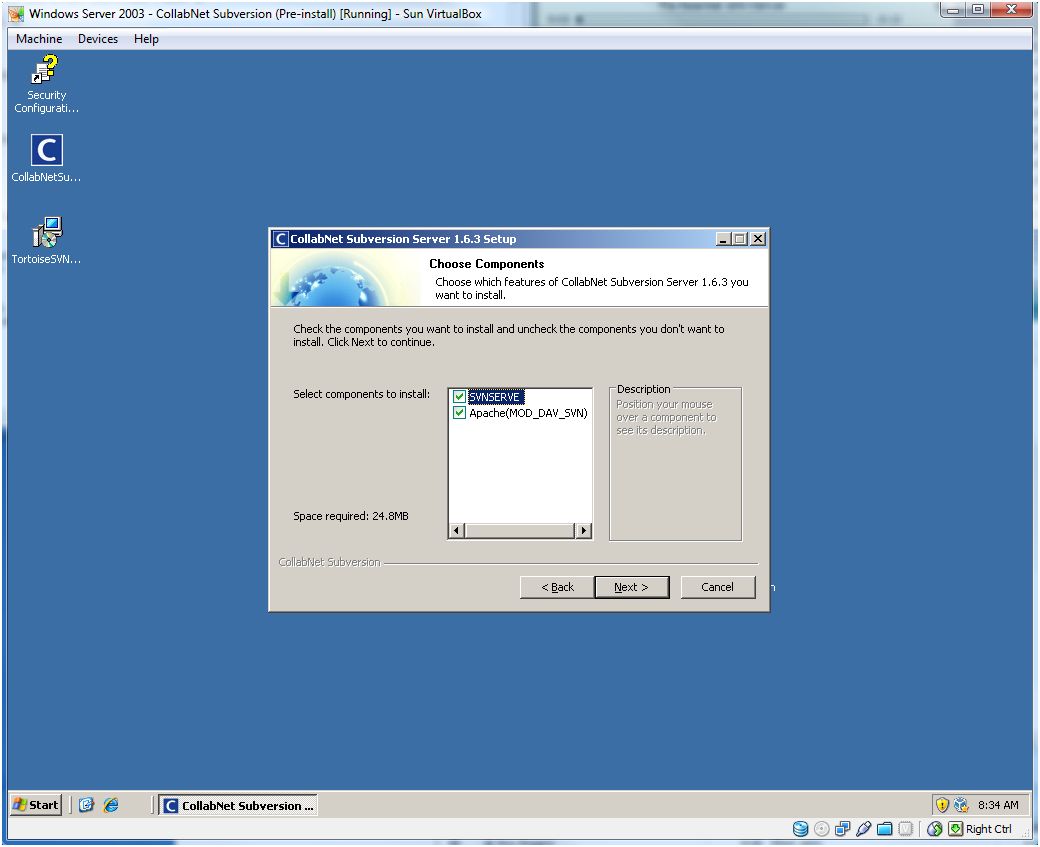
Start the installer and read and click Next on the first and second screens. On the third screen you'll be able to choose whether you want svnserve to run as a Windows service, as well as Apache. For these, you want to keep the default of having both checked.
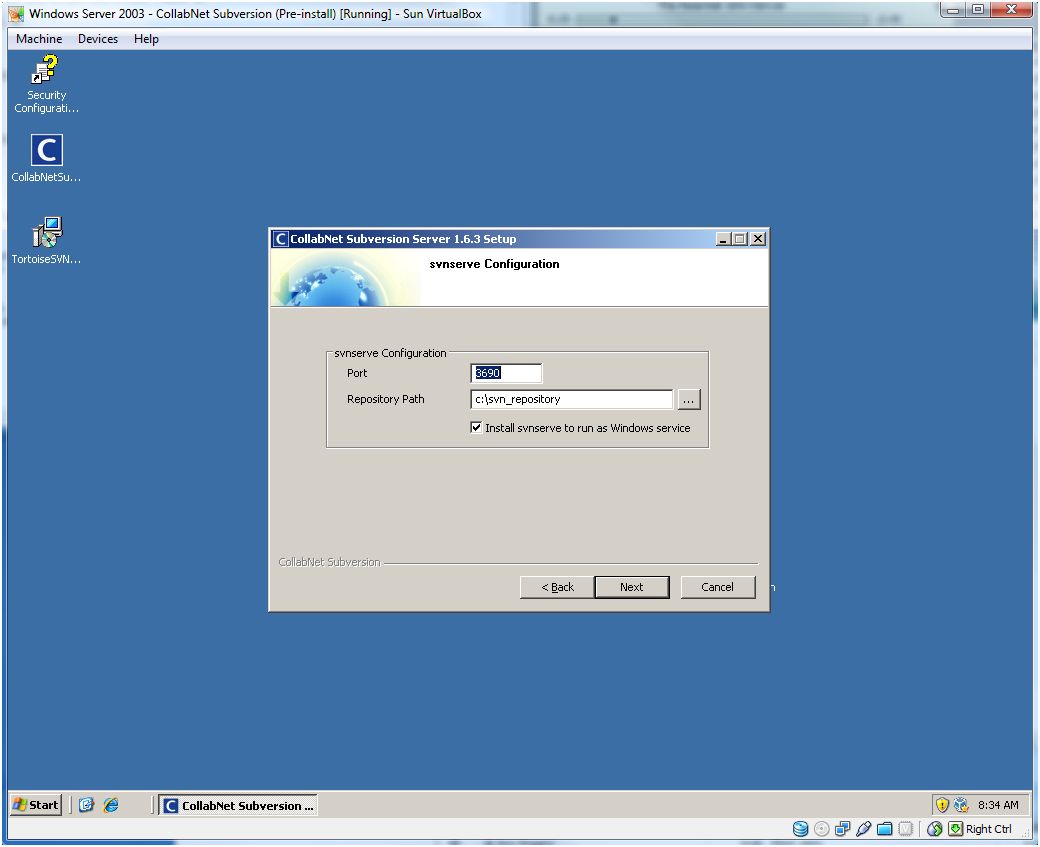
Assuming you've done that correctly, on the fourth screen you'll be able to choose what port Subversion should use (default is 3690) and the directory to store repositories (default is c:\svn_repository).
On the next screen you'll setup Apache. If you wish to continue running IIS on port 80, you'll need to use a different port (80 changed to 8080 in my case) and/or change the host to a name that IIS is not using. You'll also set where the repositories are being stored (from the previous screen) and what path to use when navigating via HTTP.
You can also enable viewVC, but Active Python 2.5 must be installed. By default viewVC is not enabled (and I don't go through that installation here).
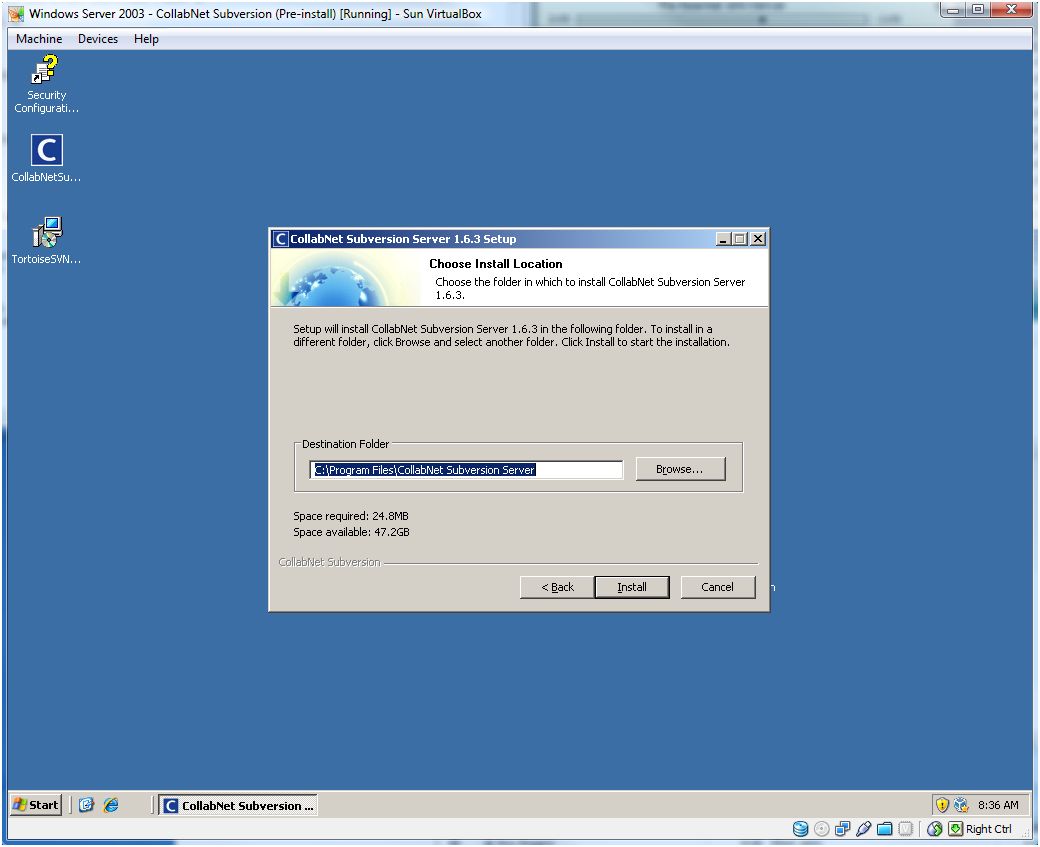
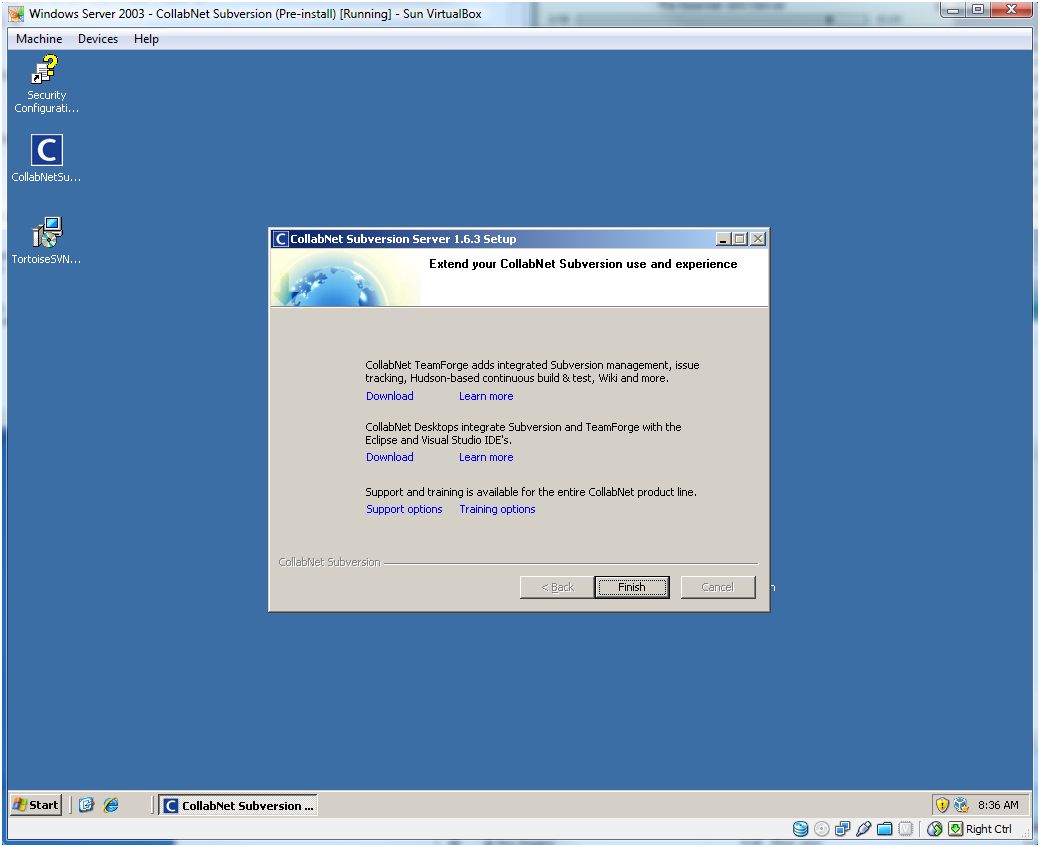
Finally, you'll choose the location to install CollabNet Subversion Server on screen six, and be presented with the Finished screen once the installation is complete, which includes links to CollabNet products and services.
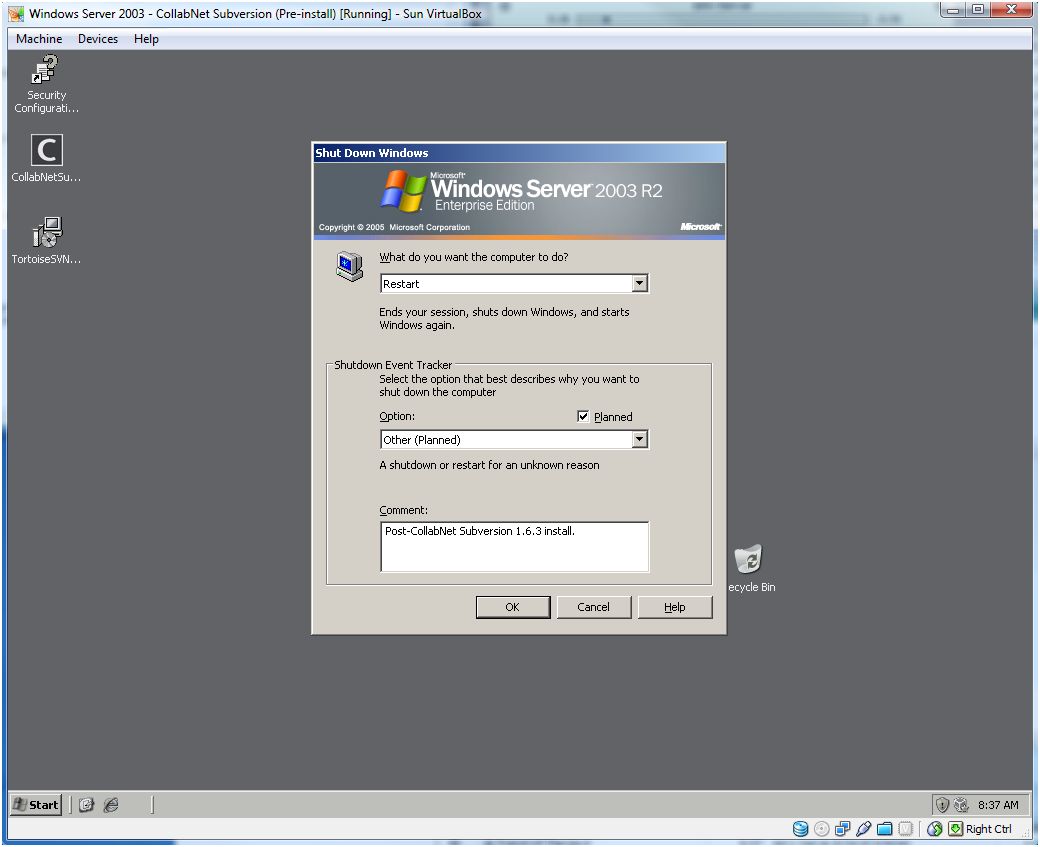
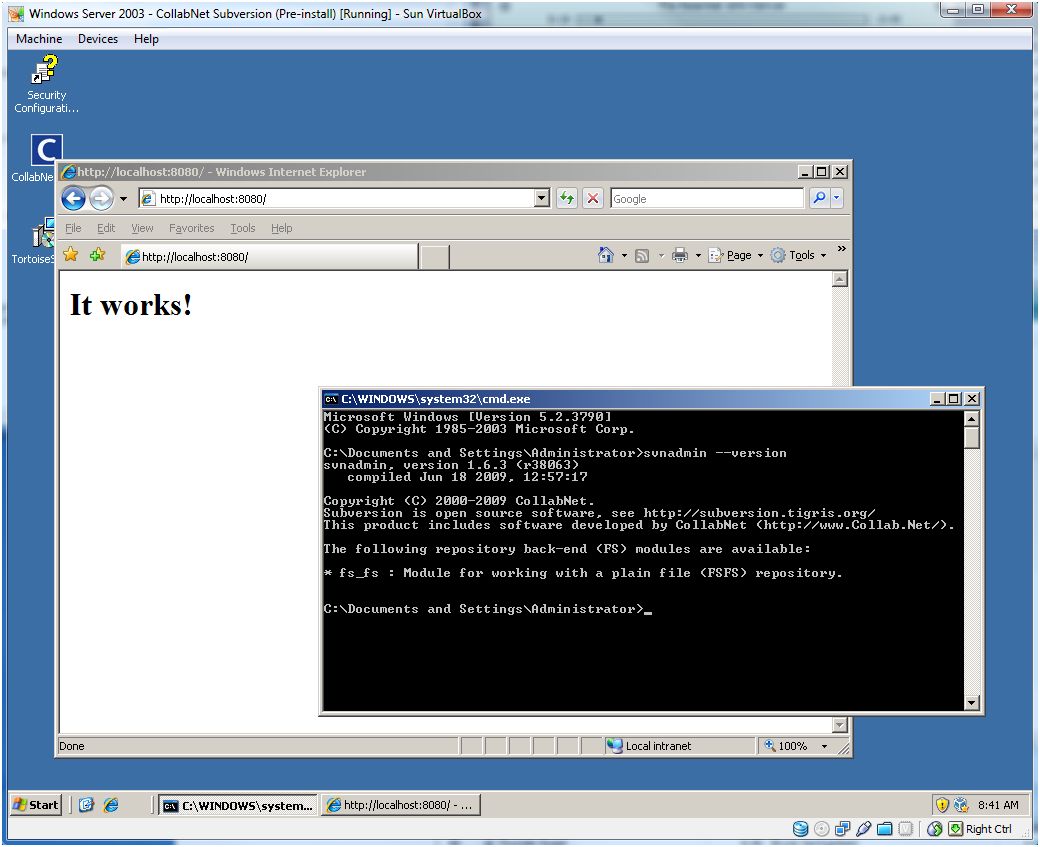
A restart will be required in order to start the necessary services. Once the restart is complete you can verify that you can access Apache through the browser, as well as run the svnadmin --version command to verify that Subversion is installed. See this.
Installing TortoiseSVN
The next step is to install TortoiseSVN. I've covered TortoiseSVN a number of times on this site, and installing this version isn't much different.
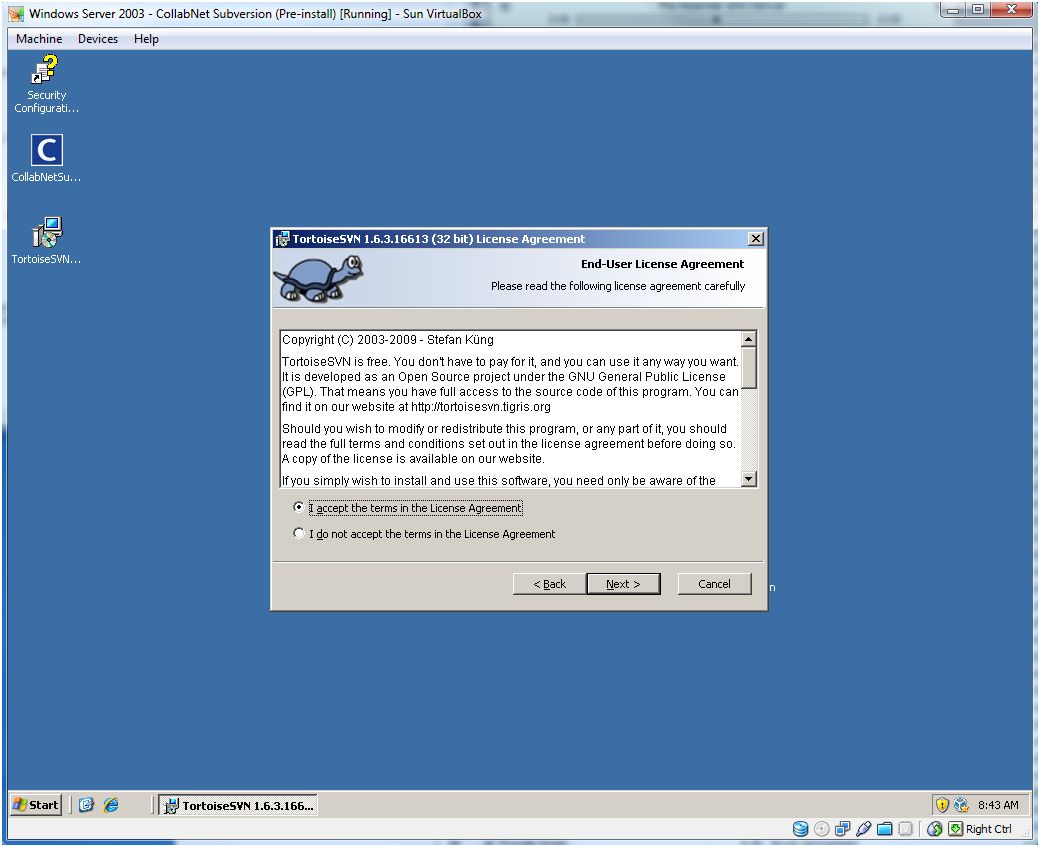
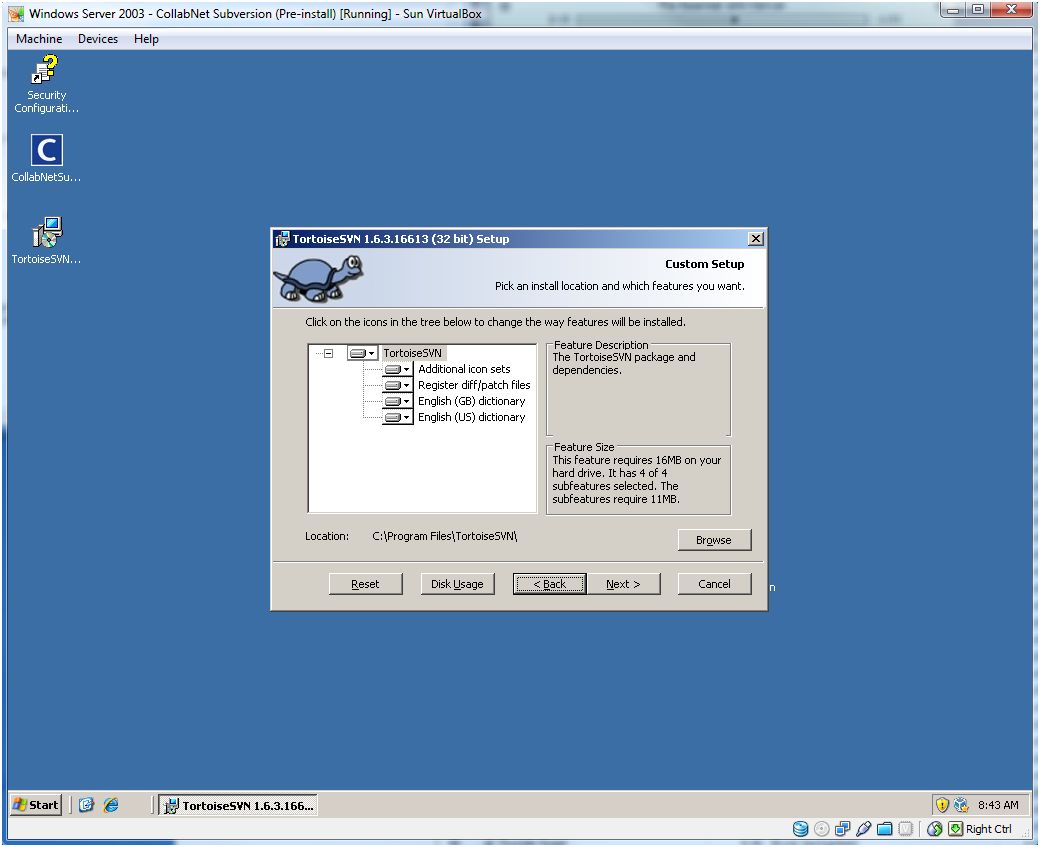
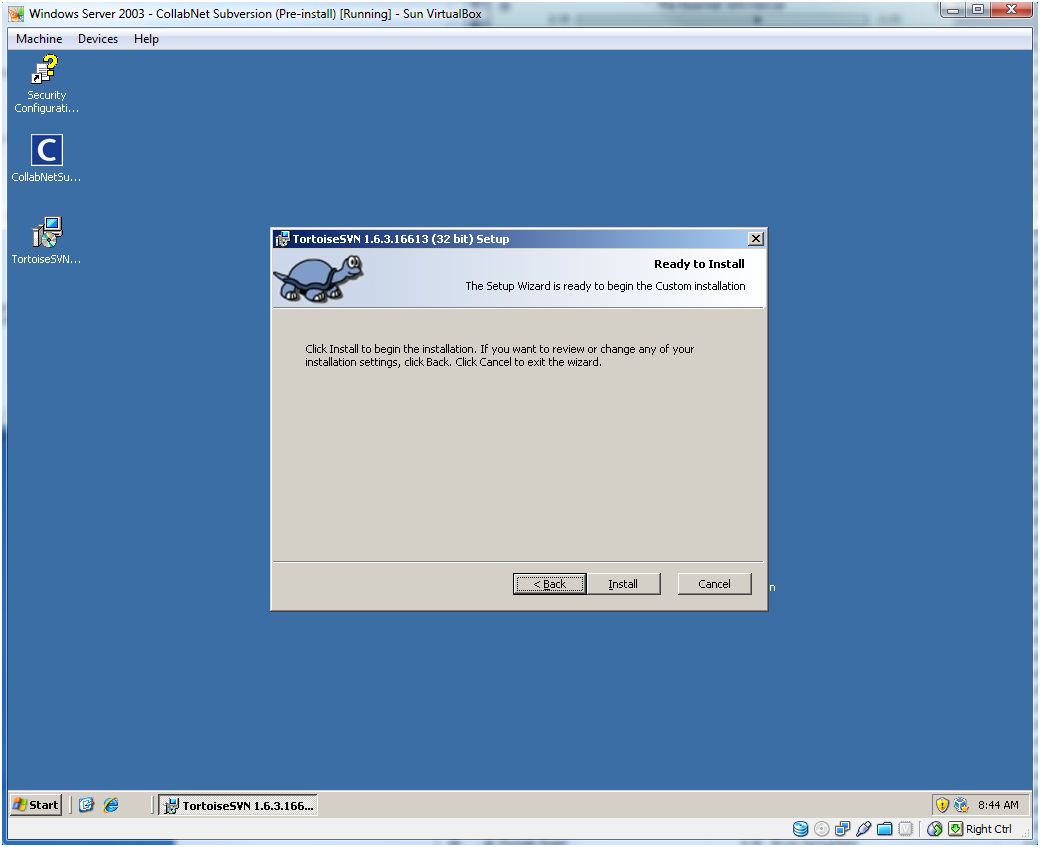
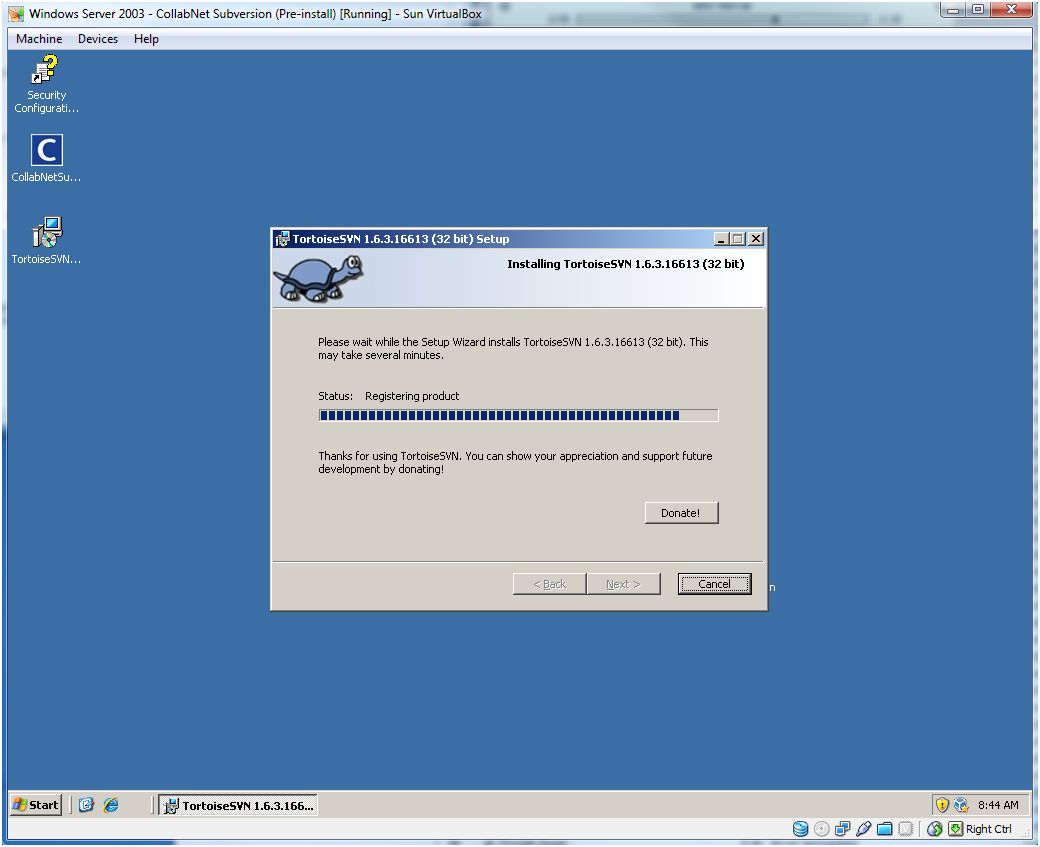
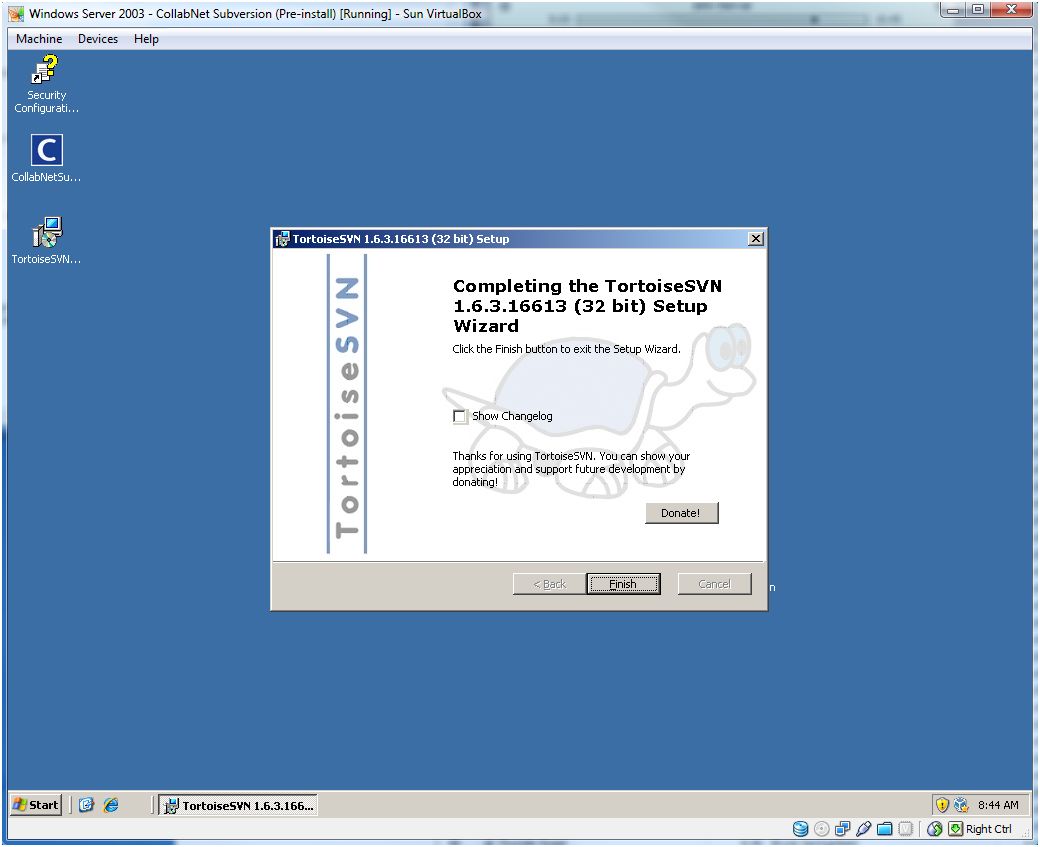
Accepting the defaults will get you through the install process (captures: 1, 2, 3, 4, 5, 6), and you'll need to restart once the installation is complete.
Testing repository creation and usage
At this point, you should be set to begin working with Subversion.
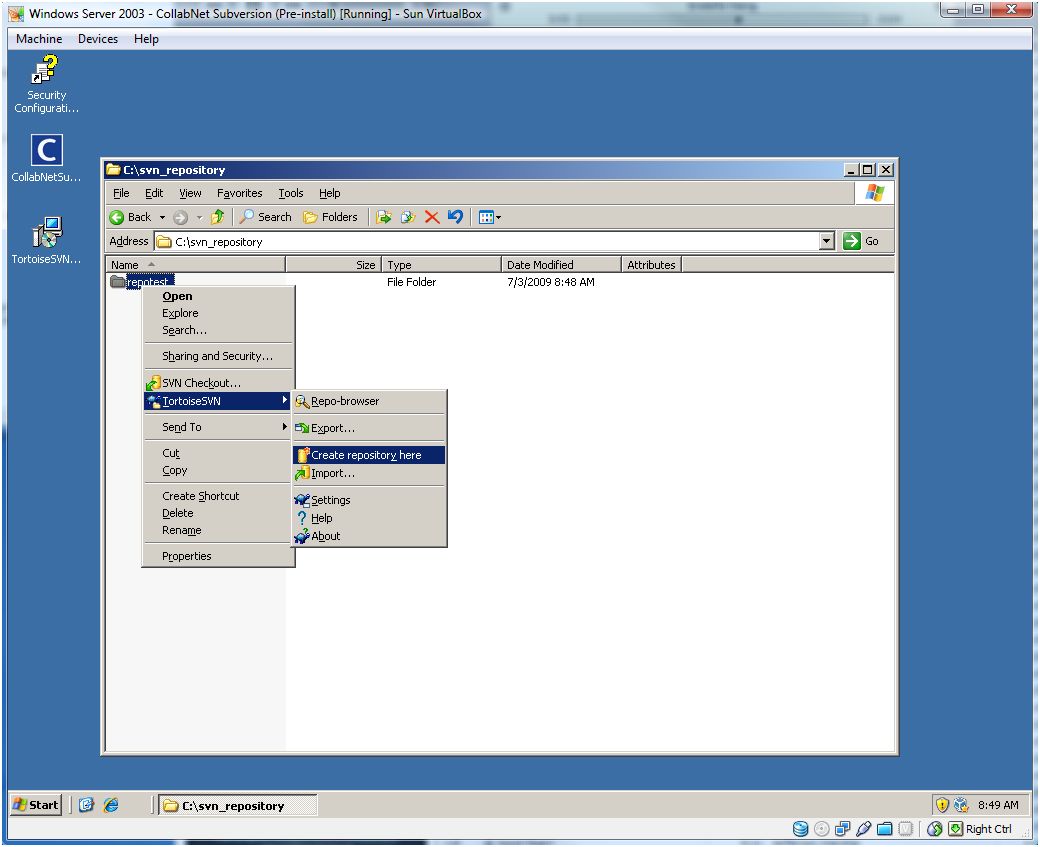
Create a new directory in your repository directory (default is C:\svn_repository). Then right-click on the directory and select TortoiseSVN > Create repository here.
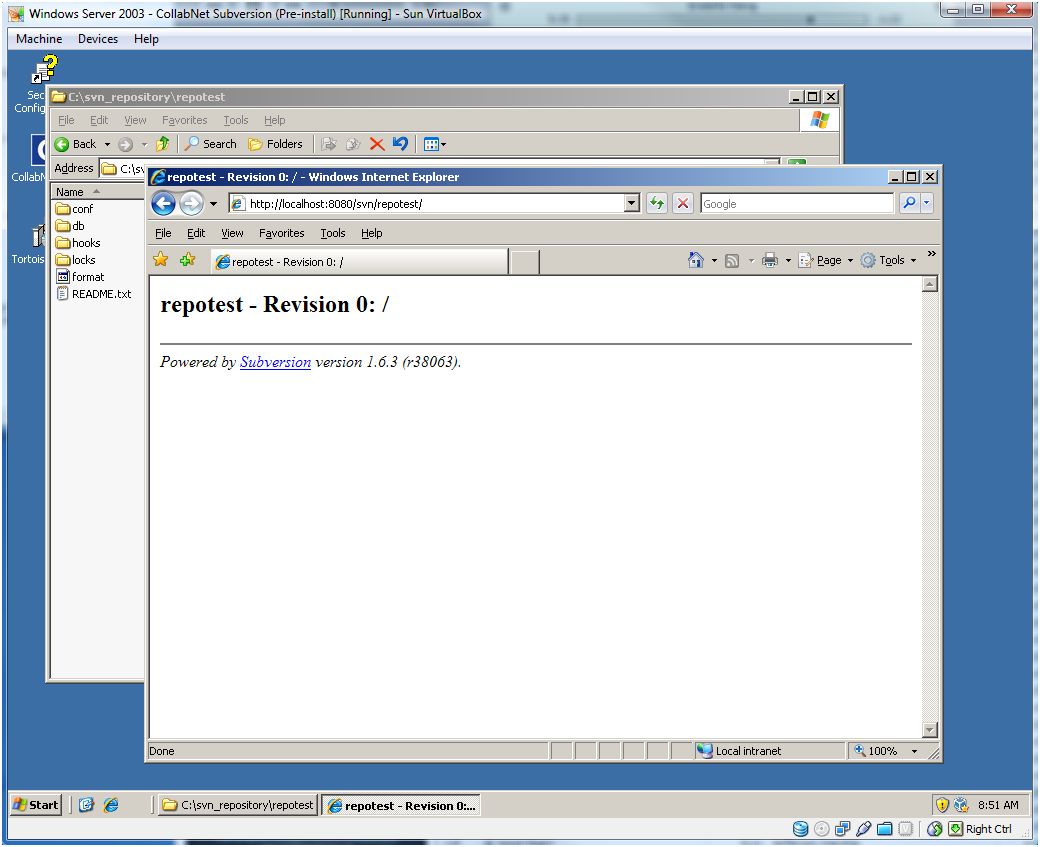
The repository will be created, and you can verify by opening the directory as well as navigating to it via HTTP.
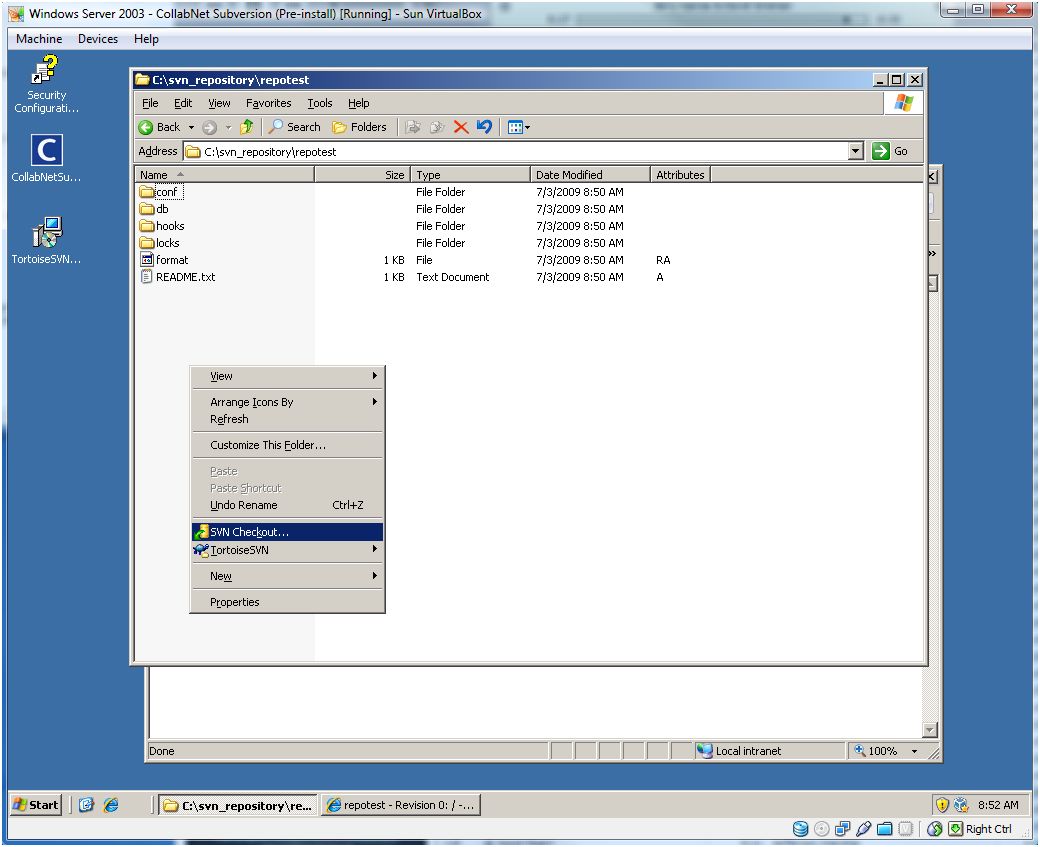
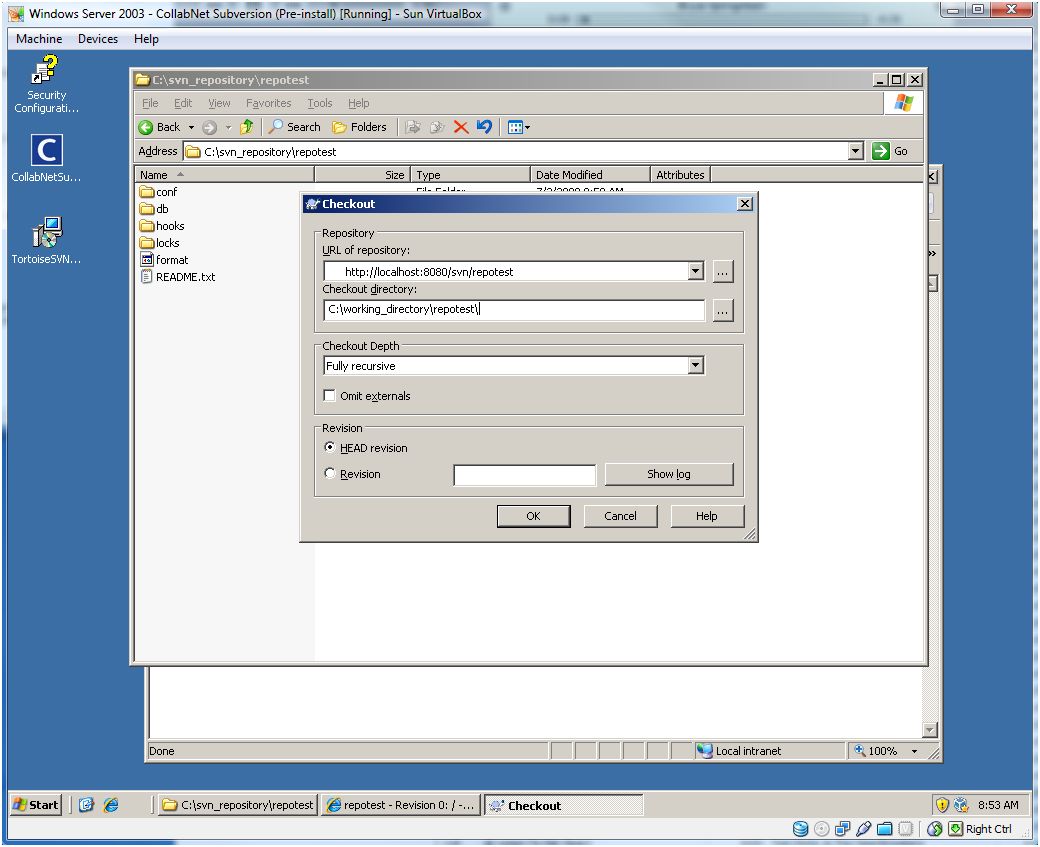
We can now checkout a copy by right-clicking anywhere and selecting SVN Checkout ....
Enter the URL of the repository and a checkout directory to continue. See this.
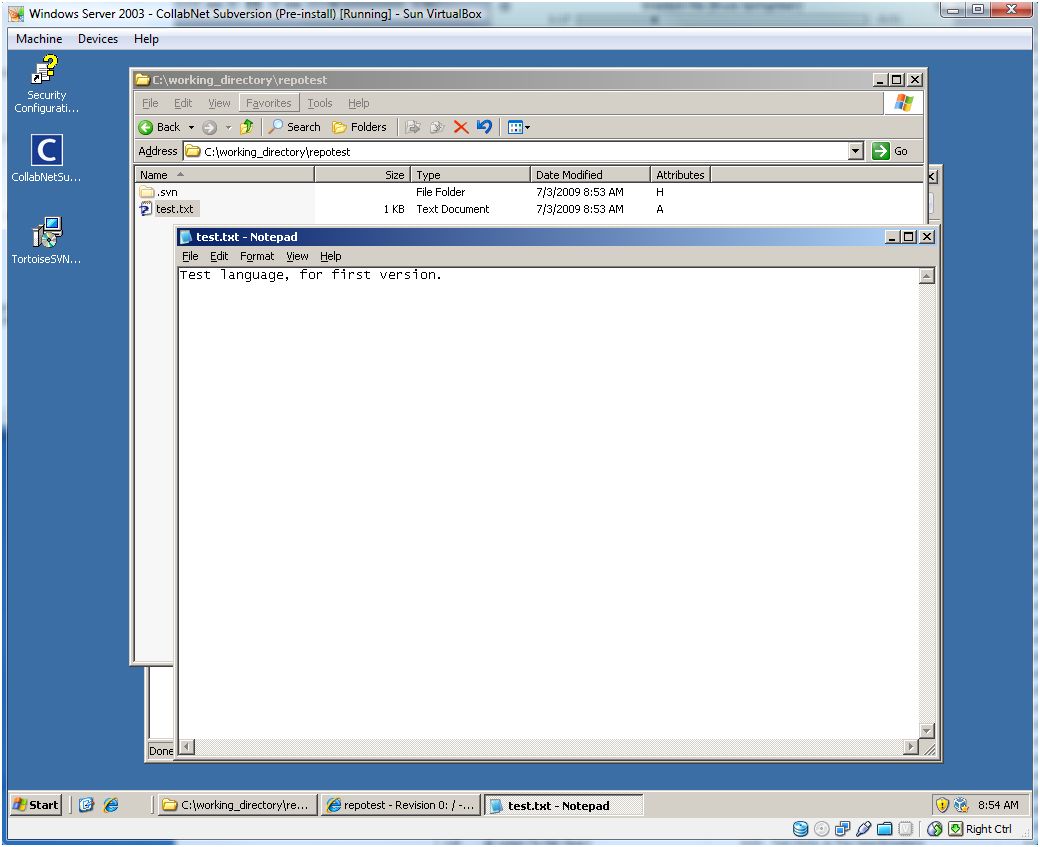
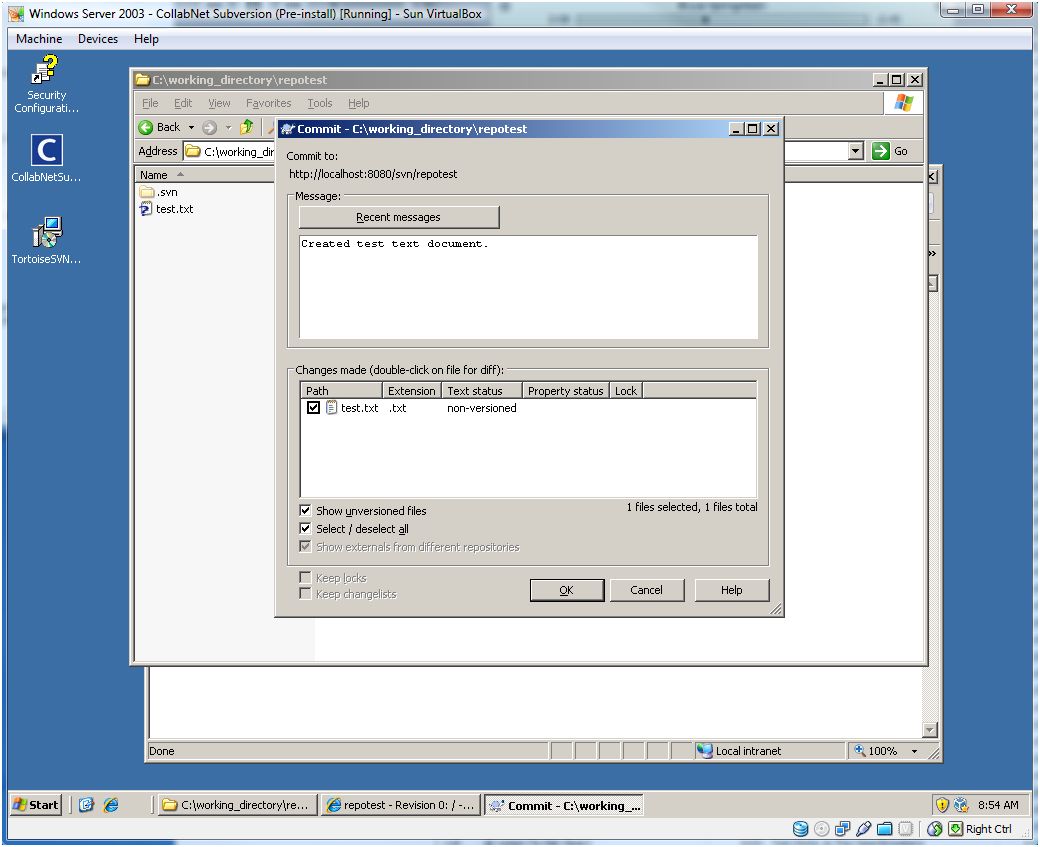
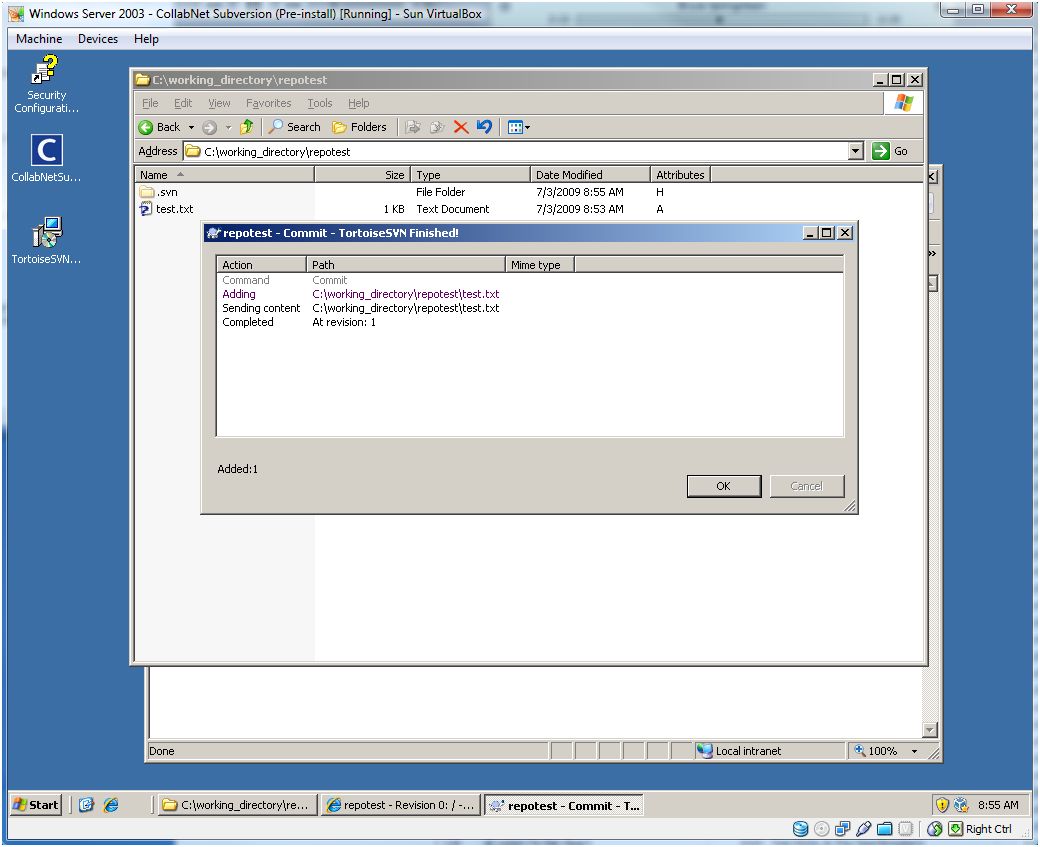
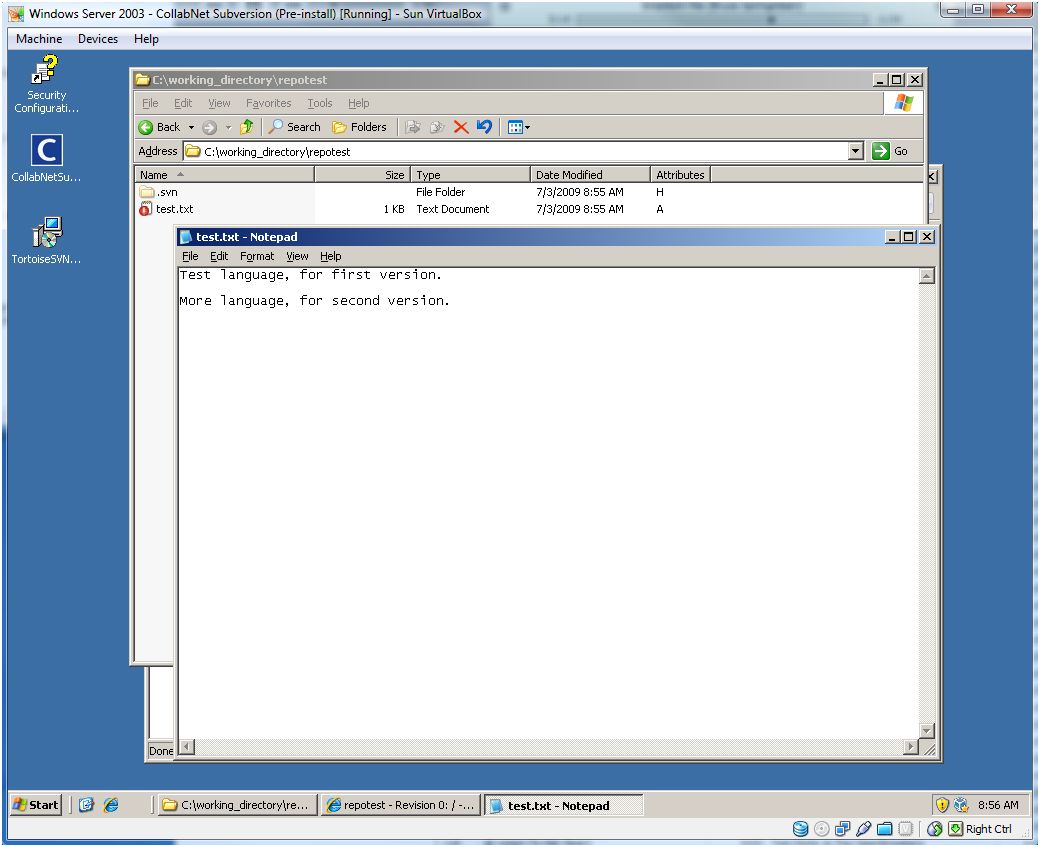
You should then be able to browse to that path and see that you have a current directory. You can then create a test file and commit your changes to verify things are working correctly.
You can make another change, verify that things commit, and then browse, via HTTP or the repository browser, to ensure that you're at the appropriate number of commits.
Next steps
And with that, you've successfully installed CollabNet Subversion Server 1.6.3 and TortoiseSVN 1.6.3. Now you just need to use Subversion during development.
CollabNet also offers free tools for Eclipse and Visual Studio, to help you integrate with your favorite IDE.
You can also play around with the security options that are available due to Apache, to make Subversion as secure as you need it.
Search
Links of Note
Support This Site
If my blog was helpful to you, then please consider visiting my Amazon Wishlist.