Installing SQL Server Express 2008 on Windows Server 2003
SQL Server Express is an easy way to add Microsoft SQL Server to a Windows-based server. While limited in functionality, SQL Server Express is still a viable solution.
In this article I'll be covering a custom install of SQL Server Express 2008 on Windows Server 2003.
Server system
For this install I was running Windows Server 2003 R2, Enterprise Edition, Service Pack 2 on Sun VirtualBox, with 256 MB of RAM. All updates were downloaded and installed.
Downloading the installers
SQL Server Express 2008 can be installed using the Microsoft Web Platform Installer, or a 'custom' install can be downloaded. For the most flexibility and experience, I'll be covering the install using the Runtime with Management Tools option.
You'll also want to grab the Windows PowerShell 1.0 installer for Windows Server 2003, if you haven't installed it already. If you're not sure, you can hold off until later in the install.
Installing Microsoft SQL Server Express 2008
After starting the installer you'll eventually reach the Installation tab, as seen in Figure 1. For our simple installation, we'll use the first option of "New SQL Server stand-alone installation or add features to an existing installation."
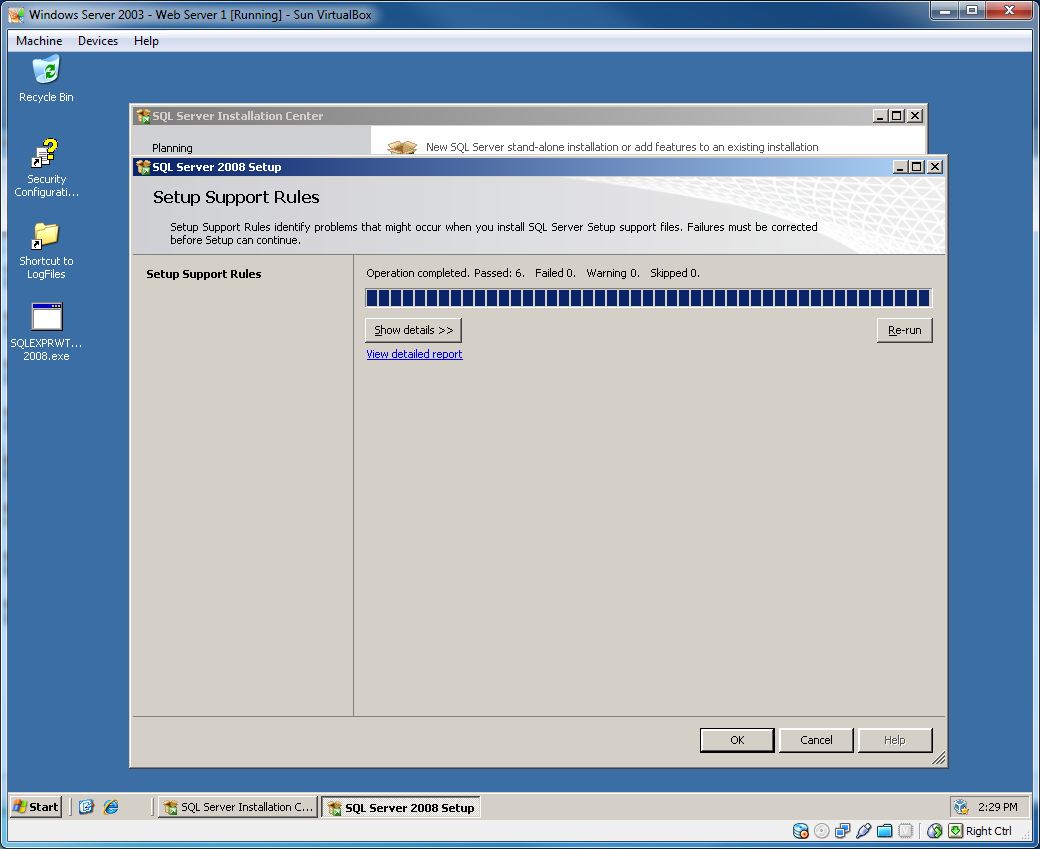
A quick check will be run to determine if there might be any issues installing setup files (Figure 2).
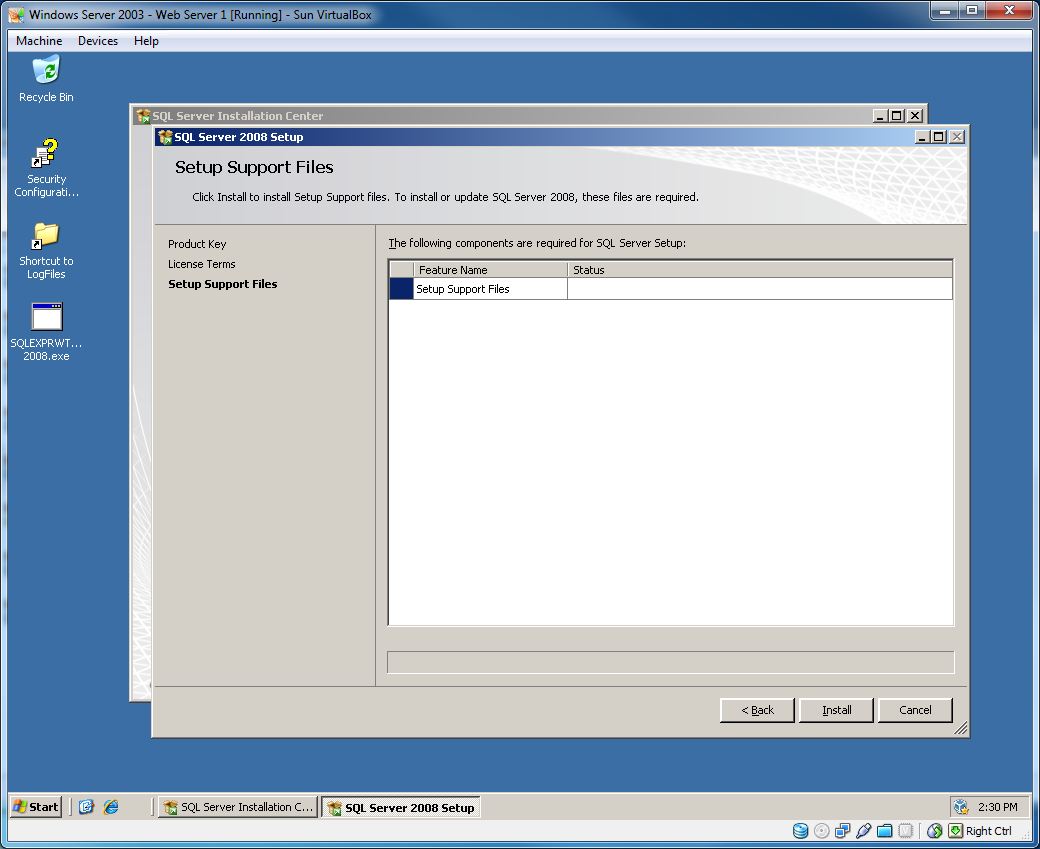
Since we we're installing the Express edition of SQL Server 2008, we won't need to enter a product key (Figure 3), so we can continue and install the setup support files (Figure 4).
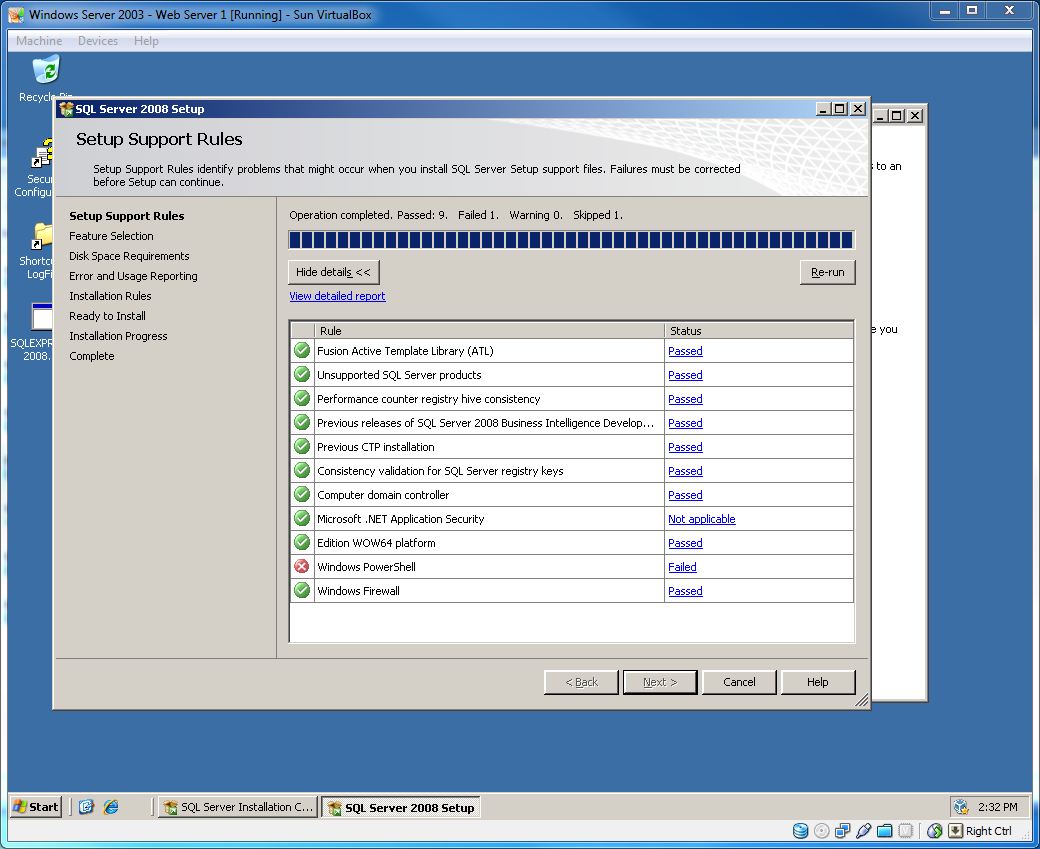
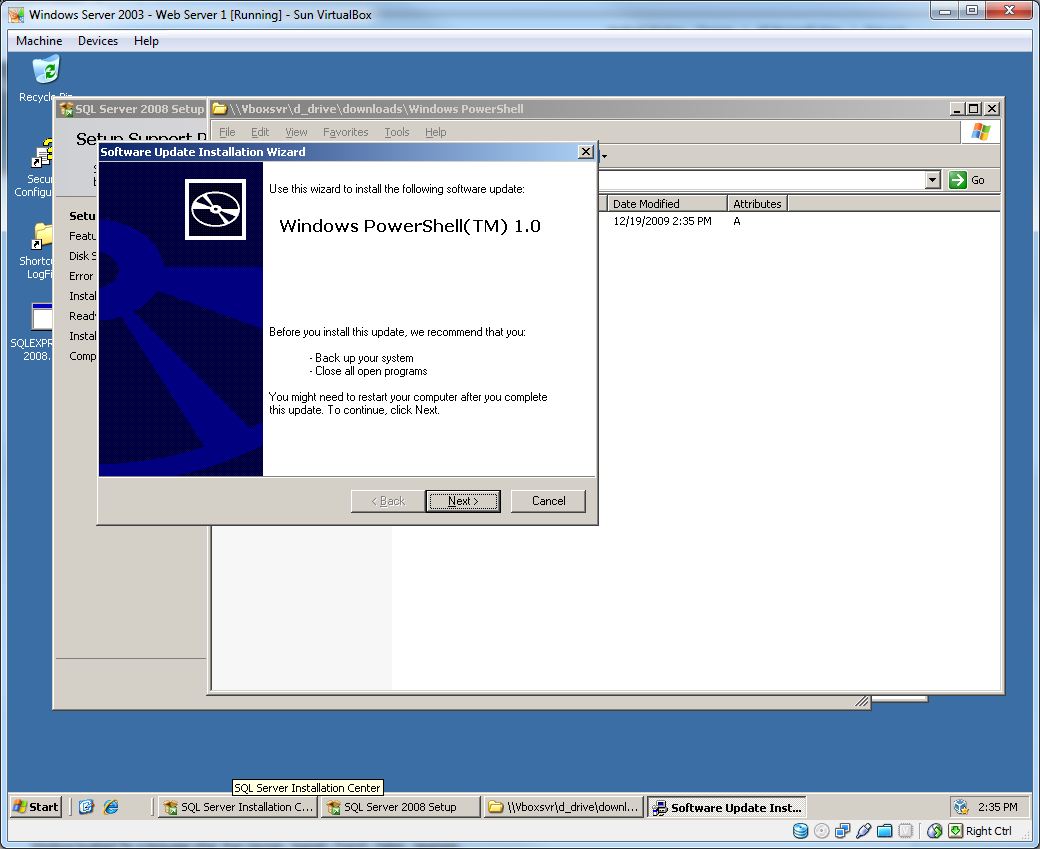
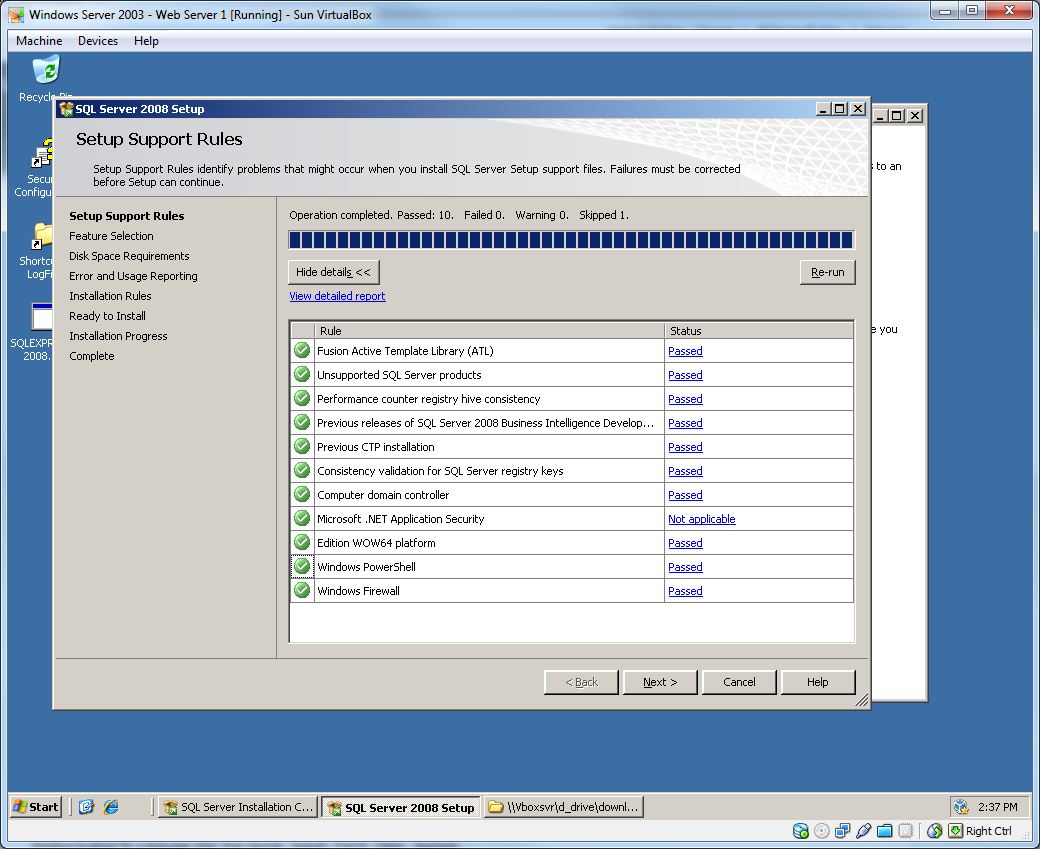
Once that's complete we start the actual install. A number of checks are run, one of which is for Windows PowerShell, as shown in Figure 5. Run the installer (Figure 6) if needed and re-run the check once it's complete. If you have any other issues, you should fix those until you can continue (Figure 7).
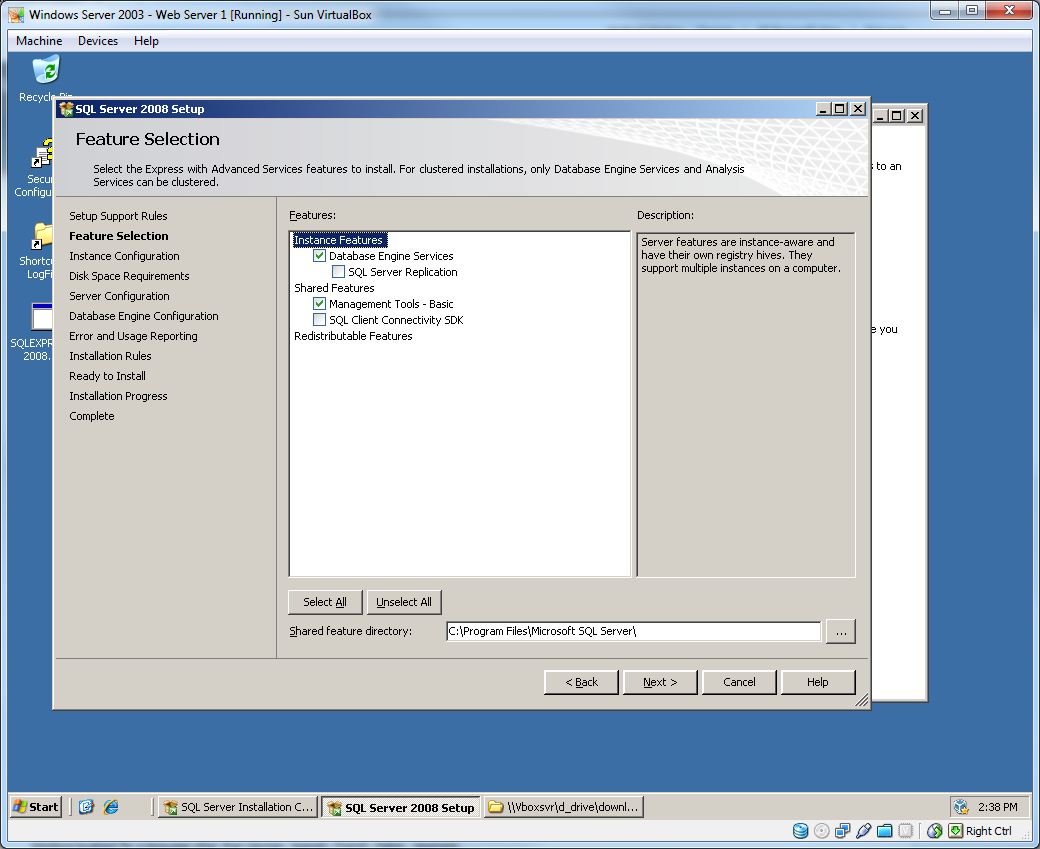
Feature Selection
Next we'll need to choose what features we want to install (Figure 8). Since we want an instance of SQL Server, we'll choose Database Engine Services. We'll also choose Management Tools - Basic so that we can manage our instance (databases, tables, users, etcetera) via a GUI. If you want, you can install the management tools on another machine, if you'd prefer not having them on the server.
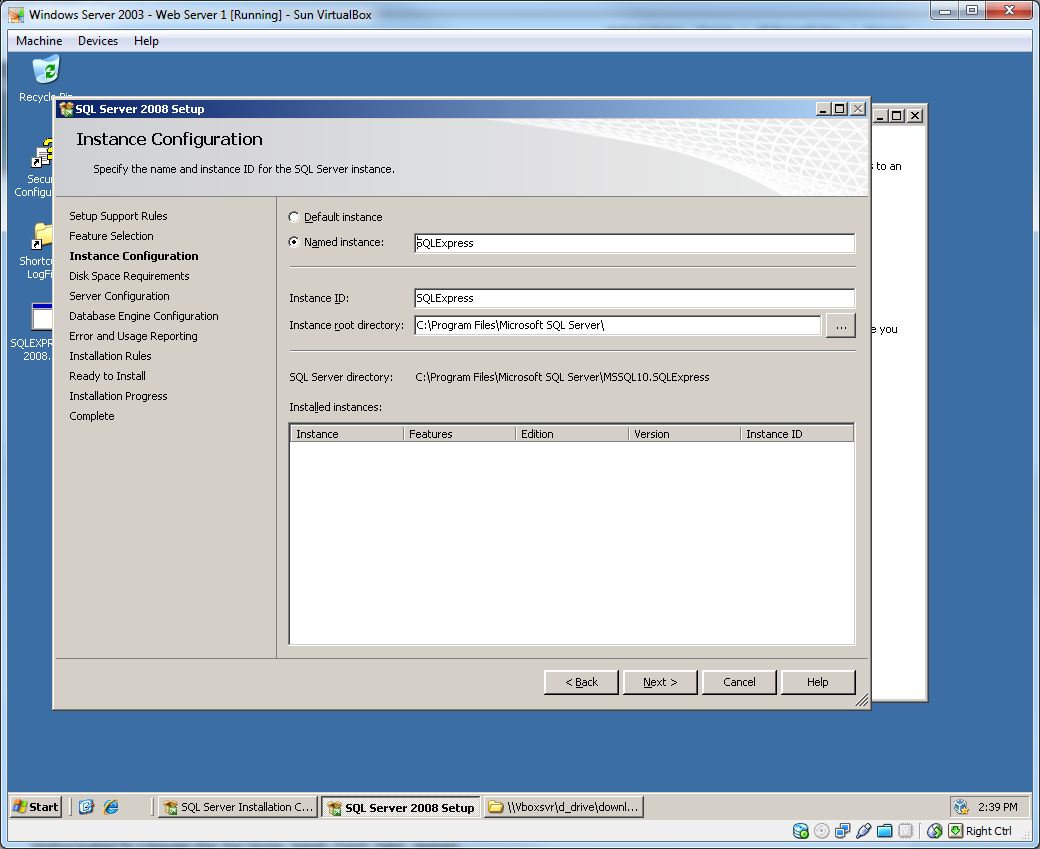
Instance Configuration
We'll stick with the default instance name, id, and root directory, as shown in Figure 9. The default generally works just fine.
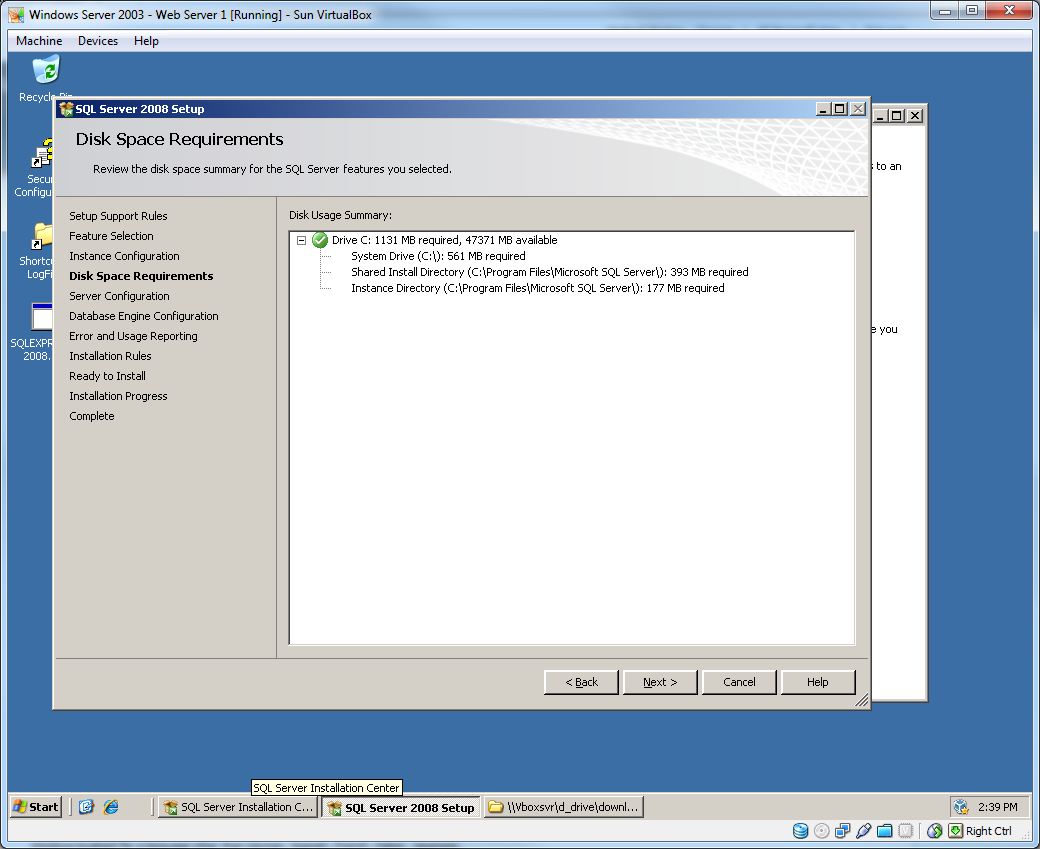
Disk Space Requirements
Space requirements will be checked. Figure 10 if you need to see.
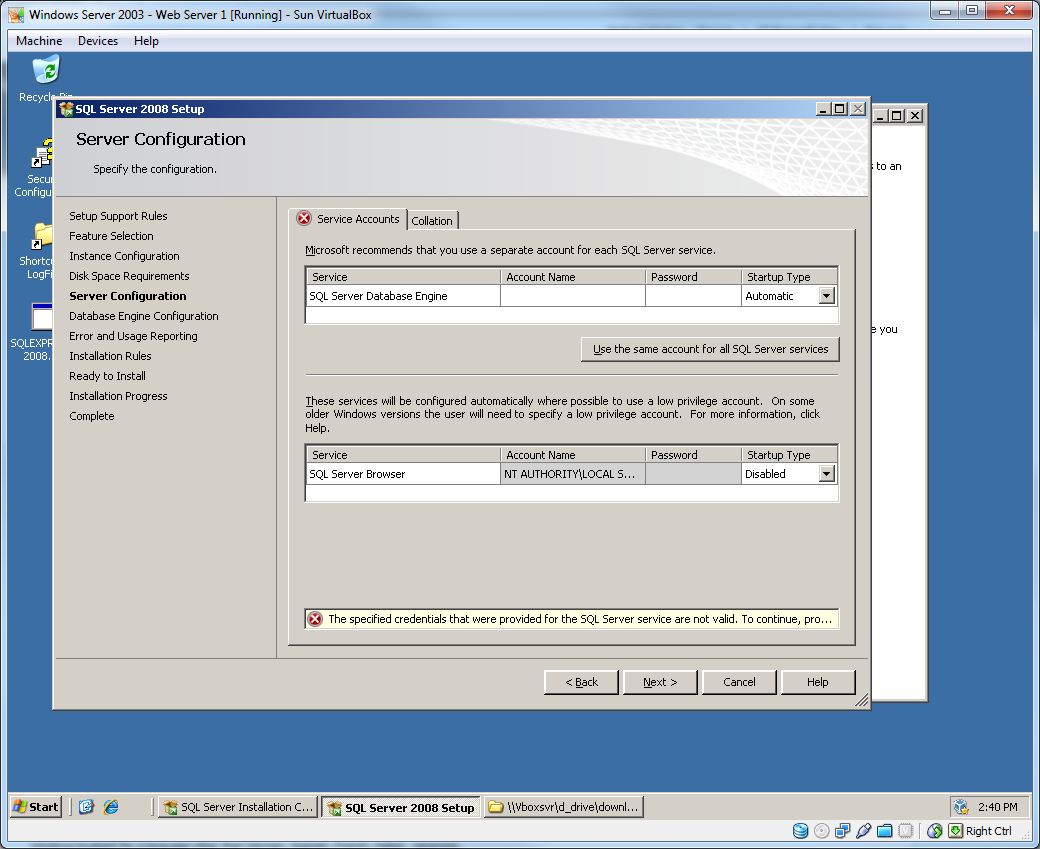
Server Configuration
At the next stage we'll setup the accounts that SQL Server Database Engine and SQL Server Browser run under. By default the local service account is used for the latter, and nothing by default is selected for the former. Startup types are also set here. See Figure 11.
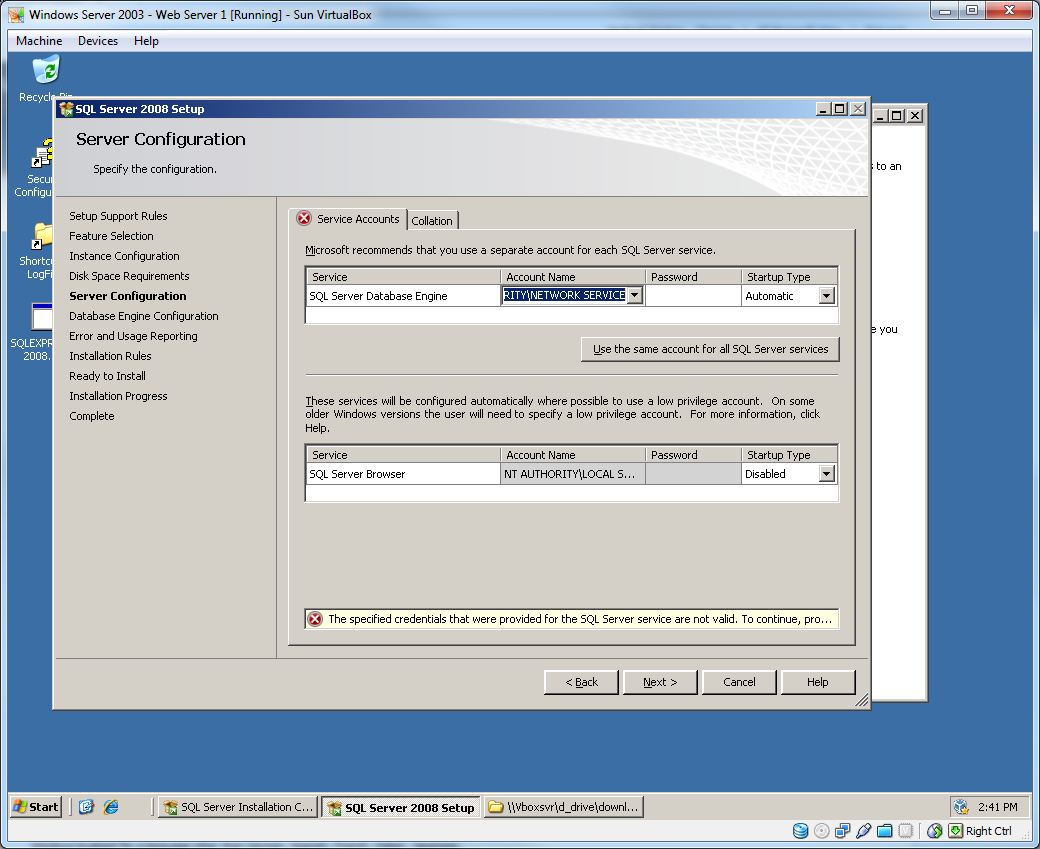
By default the Network Service account is typically used, for the former, so we'll use that here, with no password needed. See Figure 12.
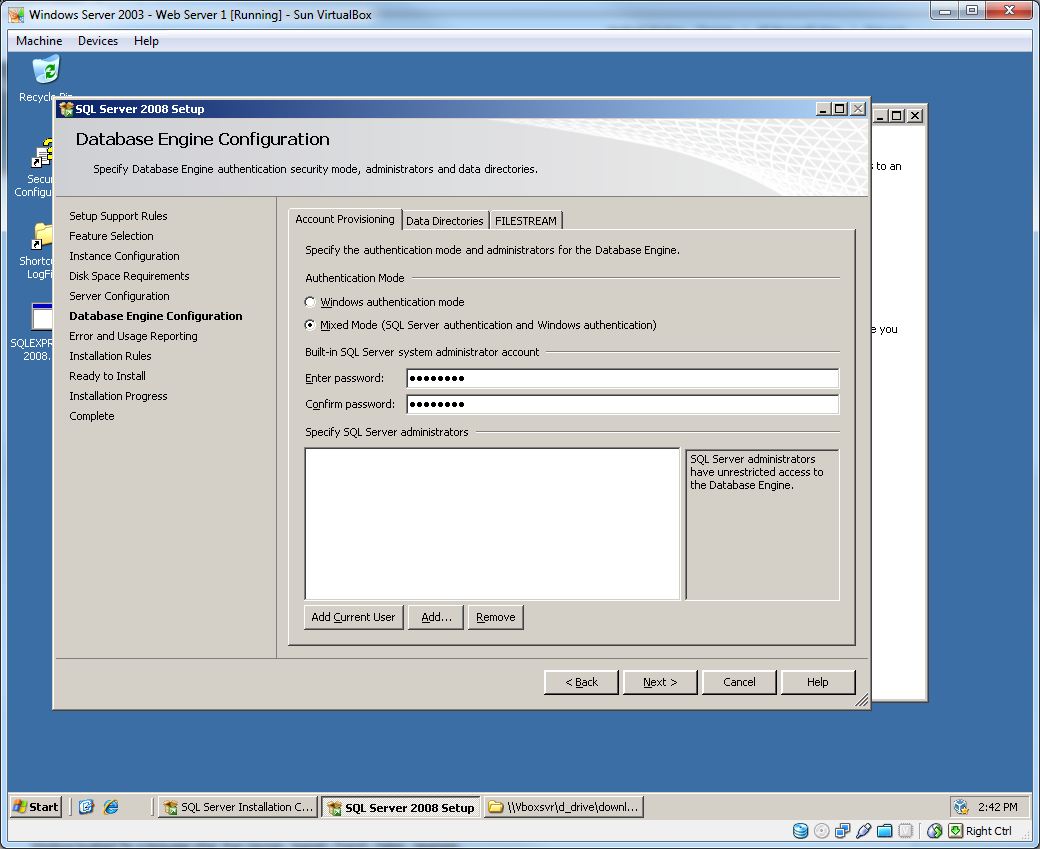
Database Engine Configuration
The next step is to setup accounts. Windows authentication mode is more secure, but if using Web applications, you'll probably need to switch to Mixed Mode. Enter a password for the built-in account (Figure 13). To continue you'll also need to specify a SQL Server administrator. Adding the current user (which is what I did) is the easiest if using a virtual machine. This leaves us at something like Figure 14.
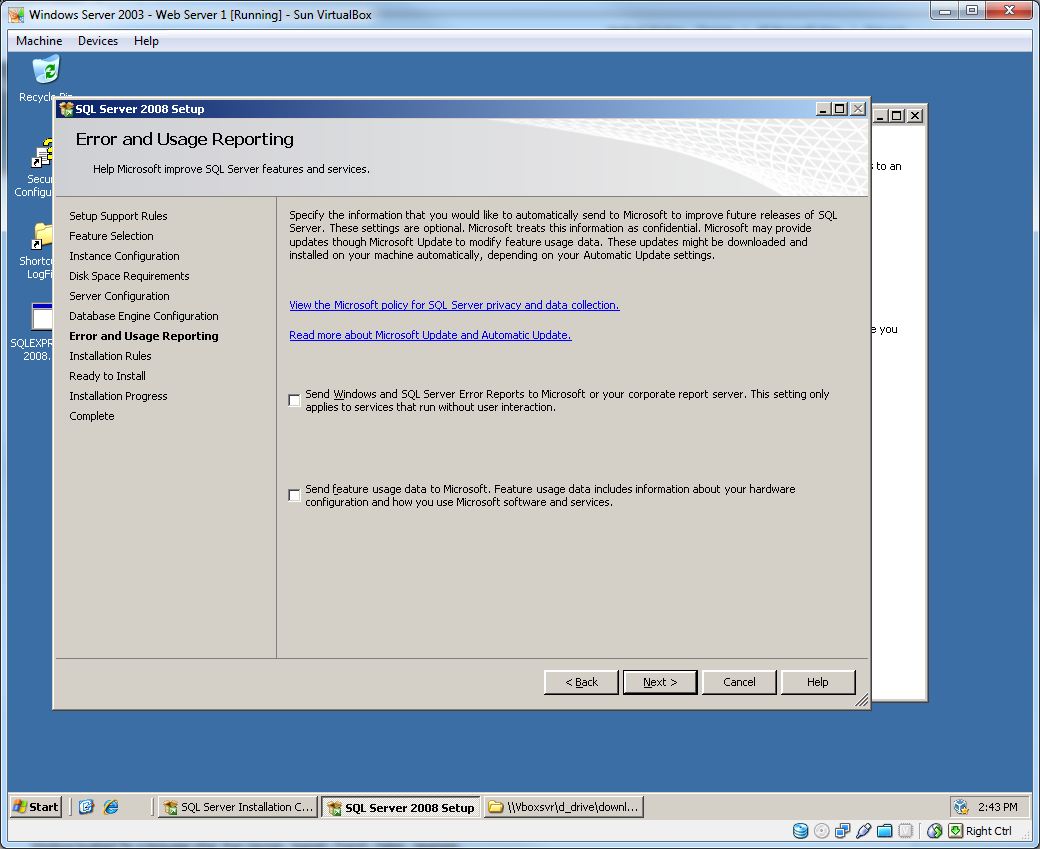
Error and Usage Reporting
If you want, you can sent error reports and feature usage data to Microsoft automatically. By default (Figure 15) the items are unchecked.
Installation Rules
A quick check will be done to determine if the install will work or not. Fix any issues that may come up, and once everything passes or is skipped (Figure 16), continue with the install.
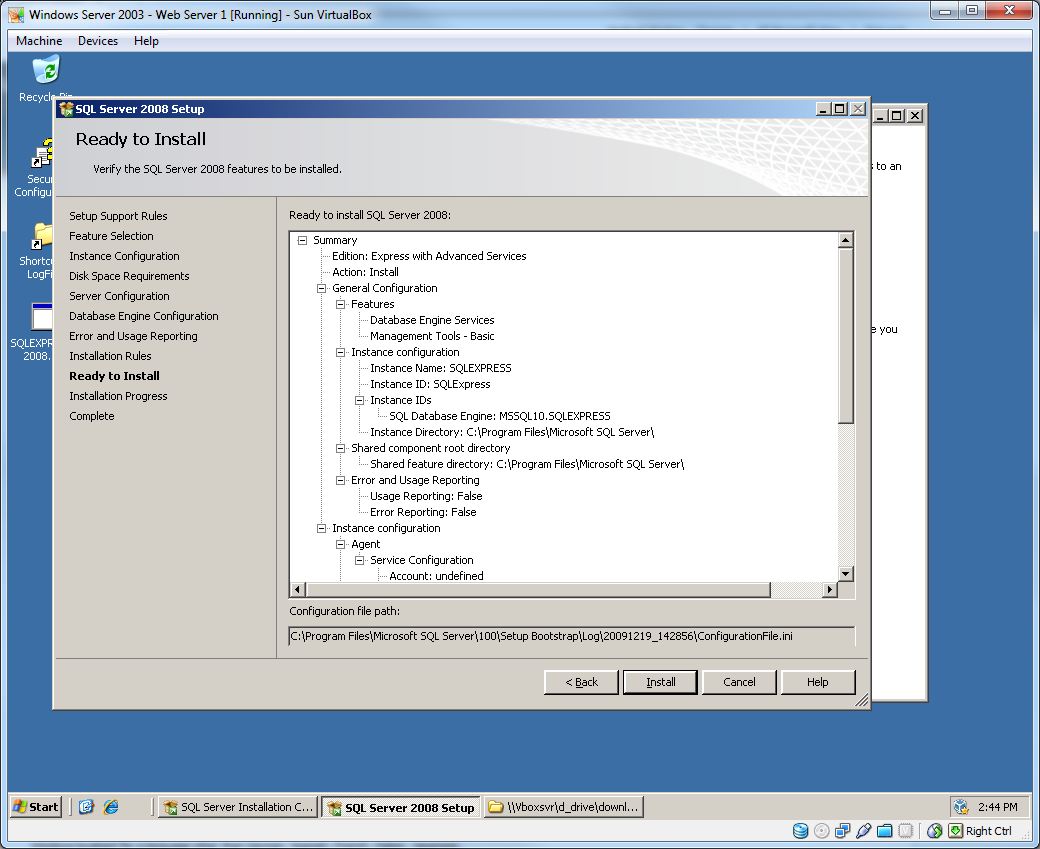
Ready to Install
At this point you'll be given an overview of your selected options. Once you're ready, press the Install button. (See Figures 17 and 18.)
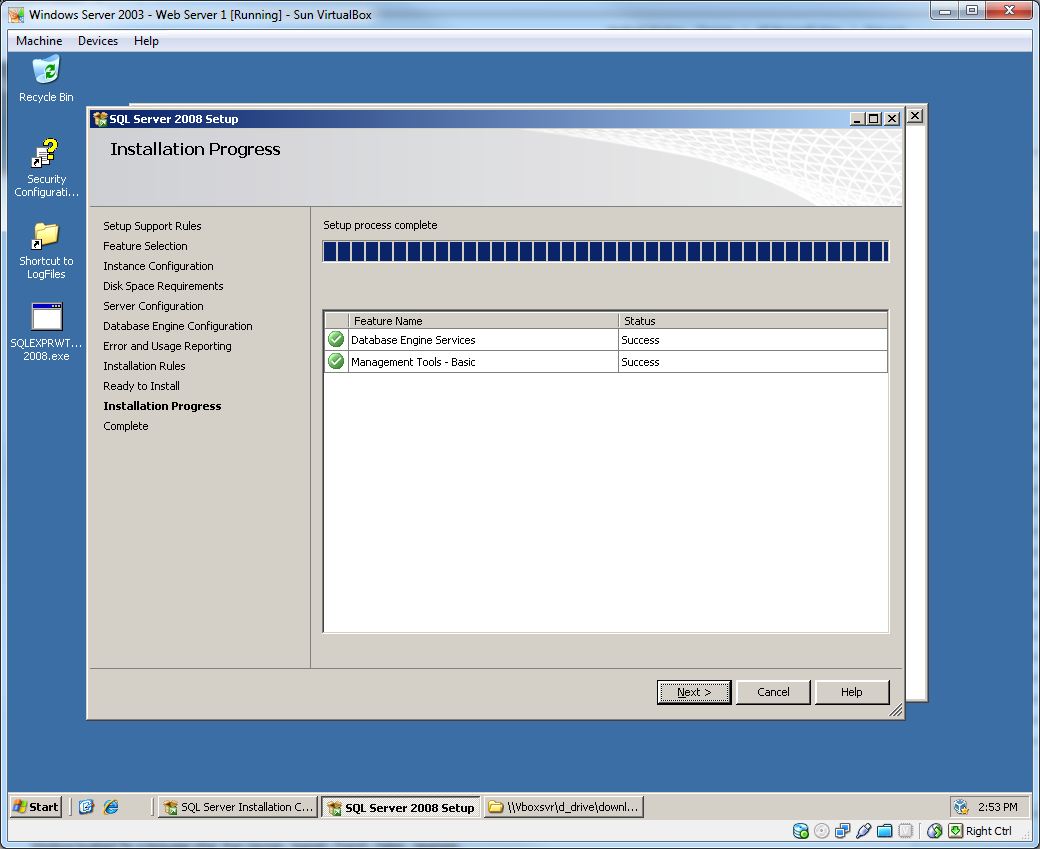
Installation Progress and Complete
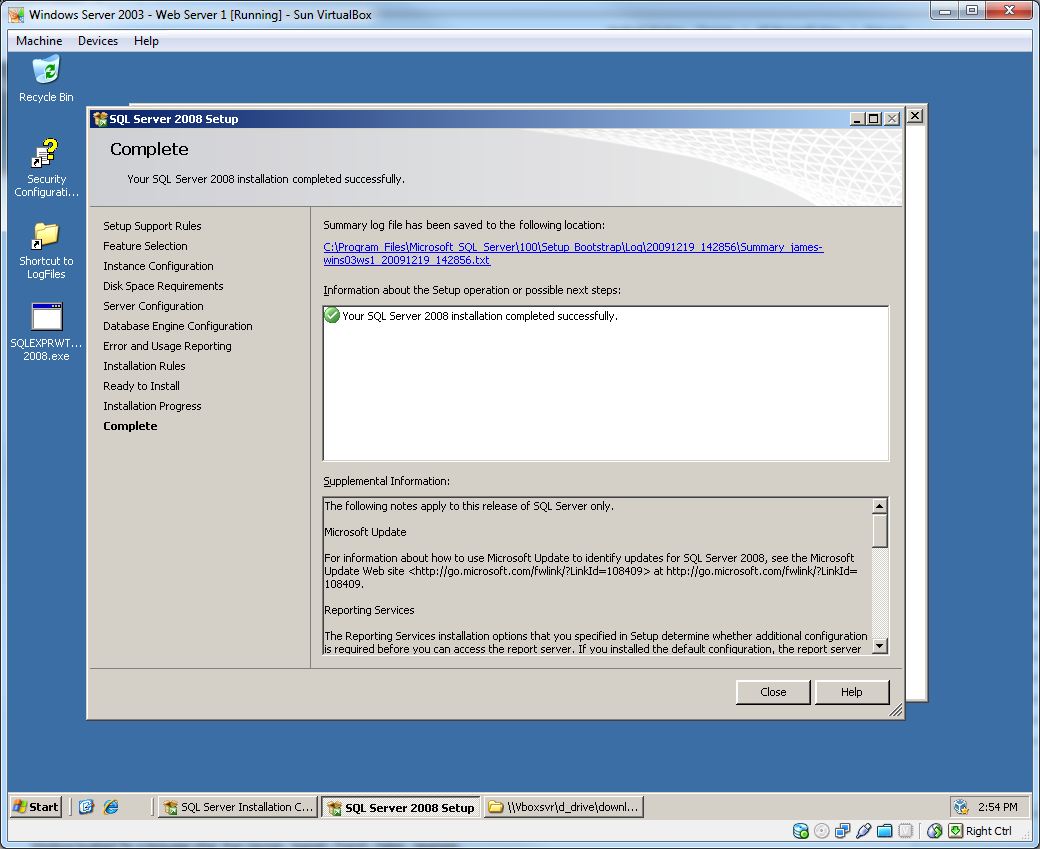
The installation will begin and should complete (Figure 19). The final screen will display a link to the summary log, information about the setup/next steps, and any supplemental information (Figure 20).
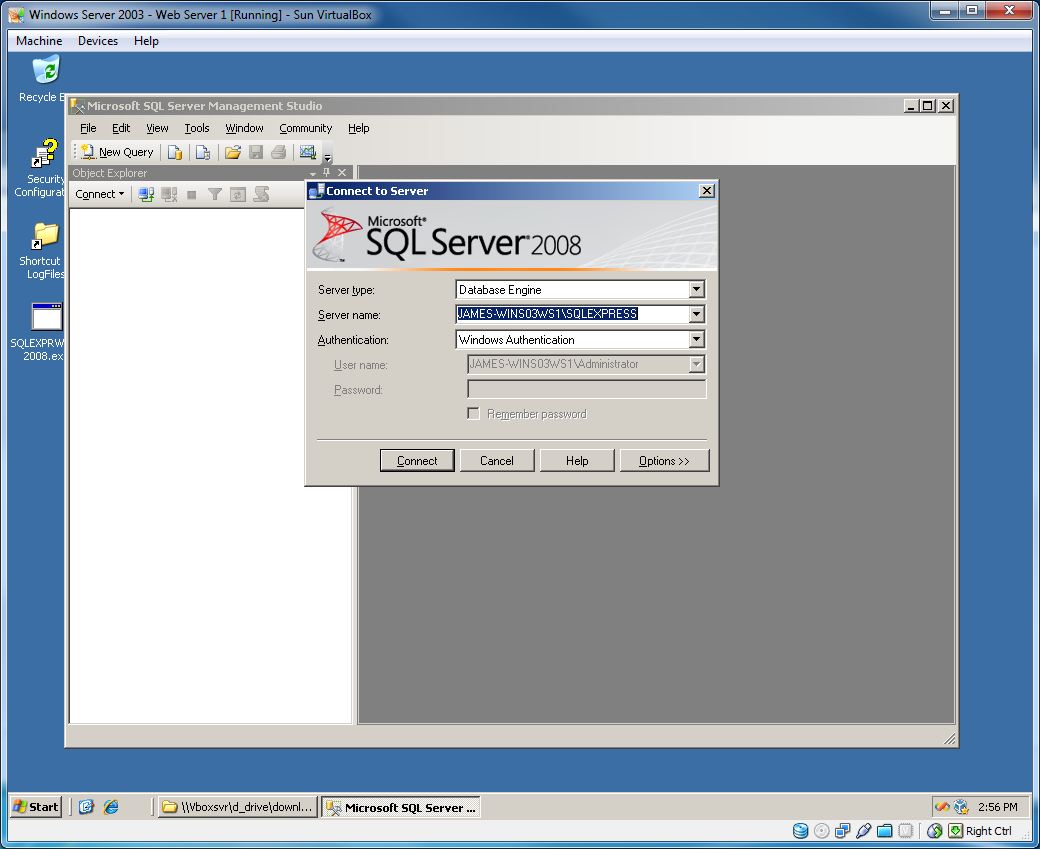
Verifying the install
At this point you should be able to start Microsoft SQL Server Management Studio and log into the local instance, as shown in Figure 21.
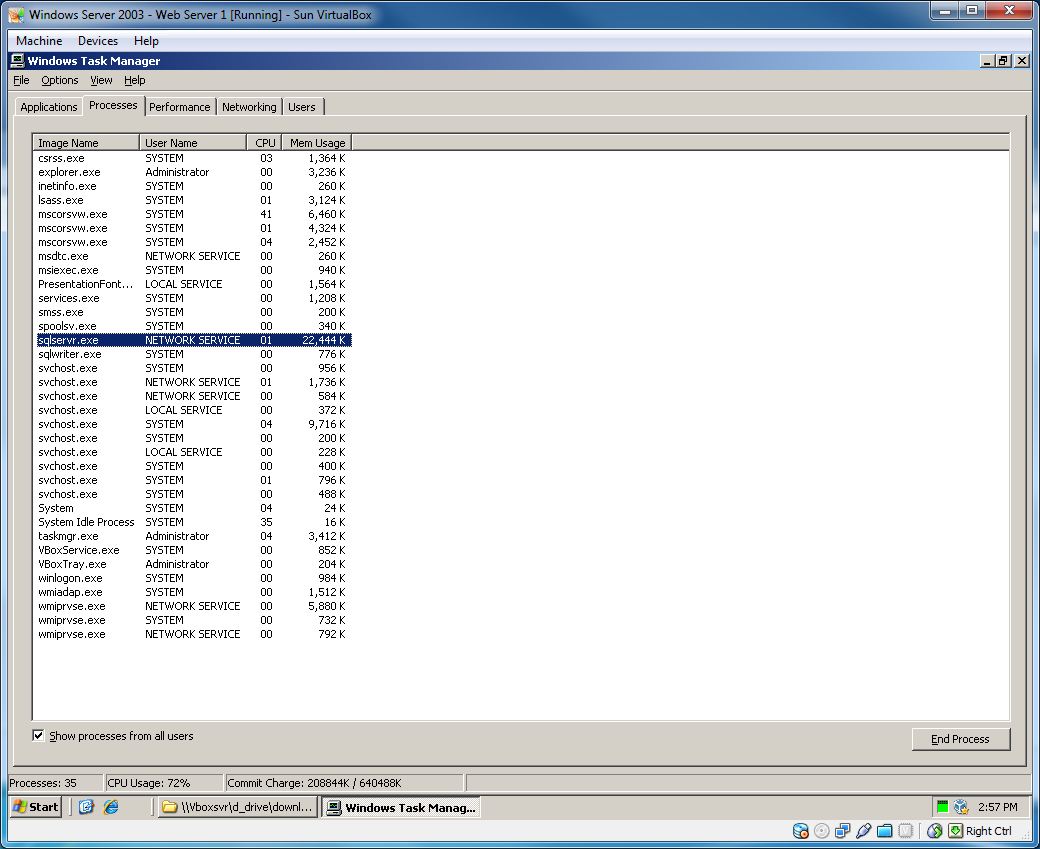
You can also check to see if the service is running by opening Windows Task Manager and looking for sqlservr.exe and sqlwriter.exe (Figure 22).
And that's all there is to it.
Update: Installing to Windows Server 2008
Differences for installing on Windows Server 2008 (SP2):
- Windows PowerShell can be installed from Server Manager > Features > Windows PowerShell.
- Setting up the Windows Firewall is covered by Configuring the Windows Firewall to Allow SQL Server Access
No other changes need be made.
Search
Links of Note
Support This Site
If my blog was helpful to you, then please consider visiting my Amazon Wishlist.